*This post contains affiliate links for products that I have used, loved, and want to share with you. If you click on those links, I may get a small commission at no additional cost to you.
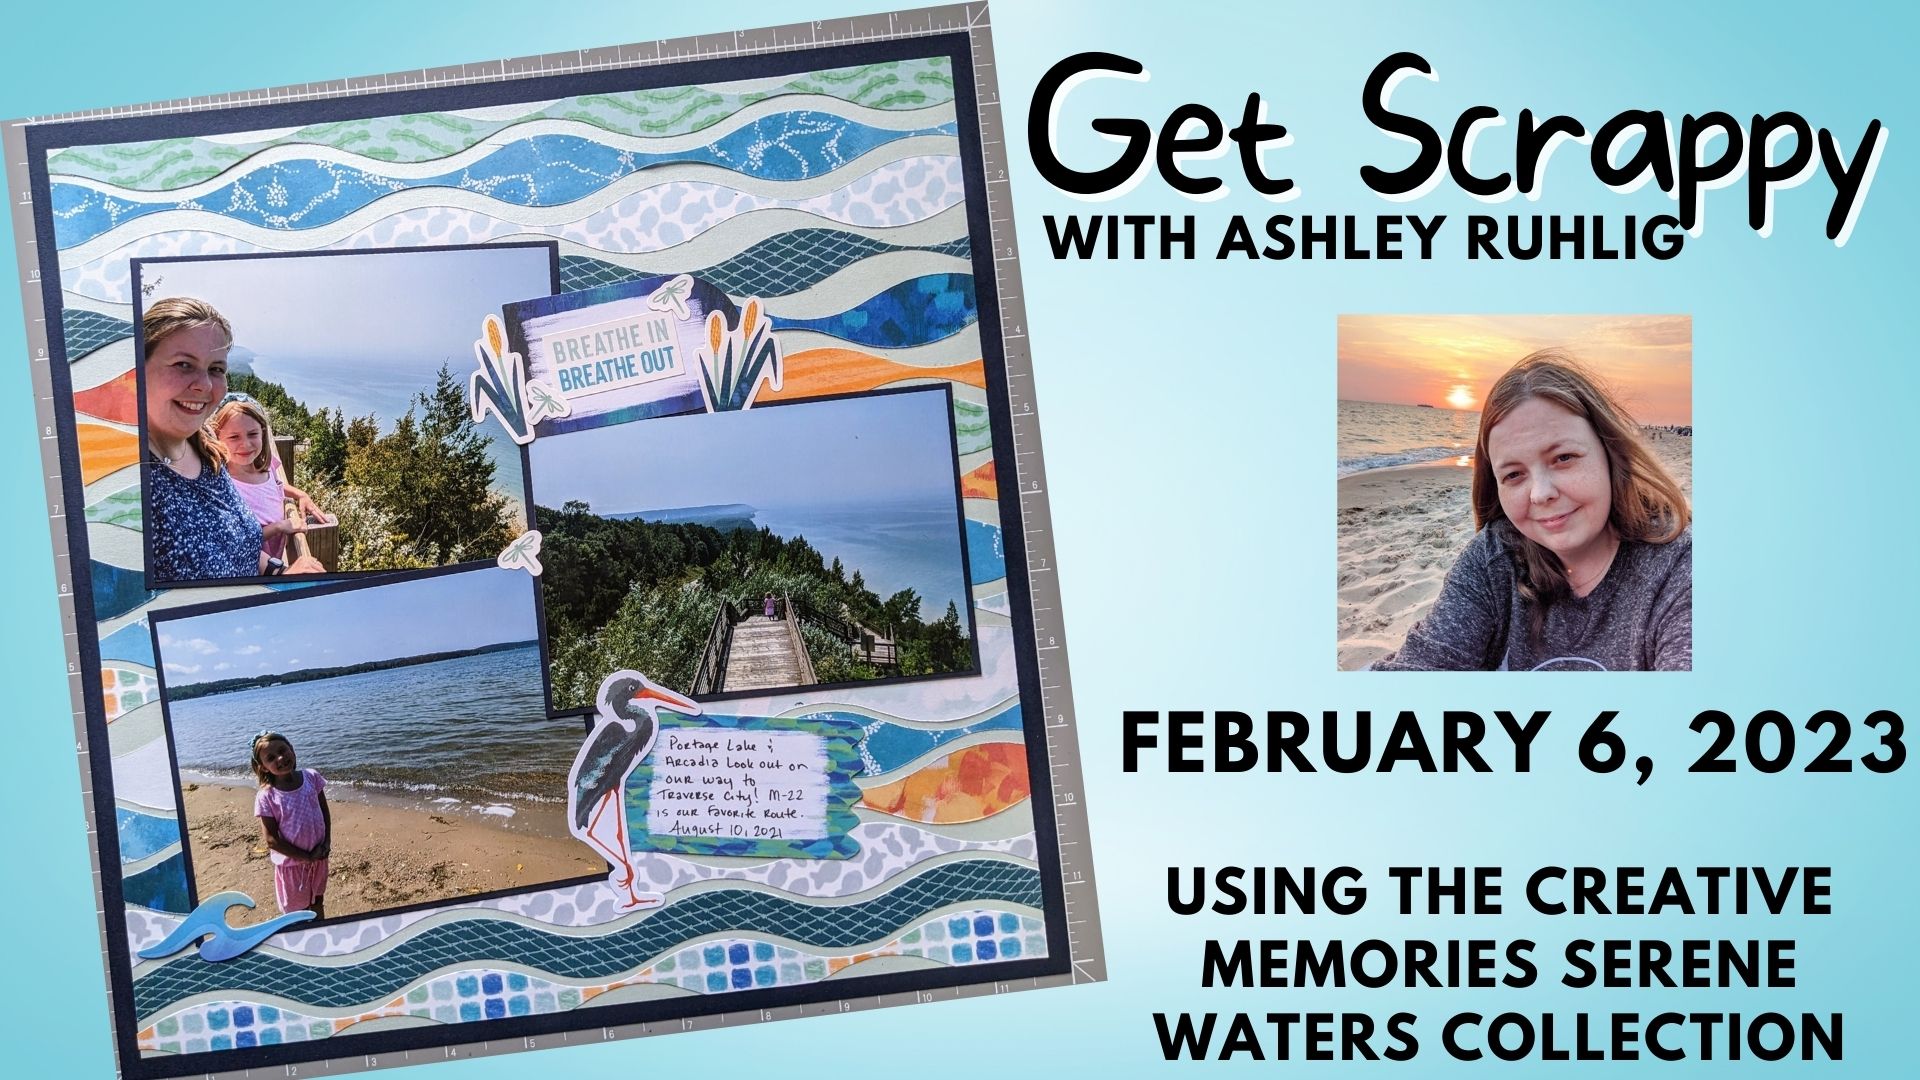
Join me as I walk through this gorgeous layout, inspired by the Creative Memories blog post from January 2023. You can see the original blog post on the Creative Memories blog here.
Scroll to the bottom of this post to watch my video, making this layout!
Stay updated on future deals, layouts, how tos, and MORE on my Facebook Scrappy VIP page!
Supplies I Used

I use the Serene Waters collection, which is my current favorite, but you can use any coordinating papers you want to. You’ll also need a couple of coordinating sheets of cardstock for your base and waves base. I used a navy sheet for my base and the shimmering light blue for under the waves.
The 12×12 and decorative trimmers are essential for making this layout, as well as a tape runner. I found the repositional tape runner to be even more convenient for sticking down those waves. The 13×13 mat was very helpful in helping me line up my layers.
You can finish up your page with coordinating embellishments and journaling with one of Creative Memories’ dual tip pens.
How It’s Created
I started by trimming the center out of my navy base page to create a frame with about a 1.5 edge, and set aside the middle of that page to mat my photos on.

From there, you can start cutting out your waves with your decorative trimmer! Use various sheets or scraps of the decorative papers and cut multiple strips with a wavy edge on both sides. I needed about 16 to complete my page, but depending on how wide you make your waves and how they fit together, you may need up to 22.


Lay out your waves on top of your other 12×12 base page (the shimmering light blue in my example), Mine sort of fit together, which worked just fine since it made the waves look even wavier! Once you get a layout you like, adhere your waves down. I love the repositional tape runner, because it allows you to peel up your paper easier if you need to adjust your wave. The excess also rubs right off.
Once they are all adhered, trim your sheet with the waves down to 11 1/2 x 11 1/2. You will then adhere it to the larger frame piece you created from before. Once it’s together, mat your photos and arrange the onto your page as you desire, then adhere them down.
Finally, finish off your page with embellishments and journaling!
Need Scrapping Supplies?
If you need supplies to create your own beautiful layouts, and you don’t have a Creative Memories Advisor yet, consider shopping with me at the button below!


2 thoughts on “Get Scrappy and Create This Wavy Layout”
Comments are closed.