*This post contains affiliate links for products that I have used, loved, and want to share with you. If you click on those links, I may get a small commission at no additional cost to you.

I love seeing both sides of the paper in my layouts. I have such a hard time picking which side to use when trying to piece them together. That’s why I love this rolled layout so much!

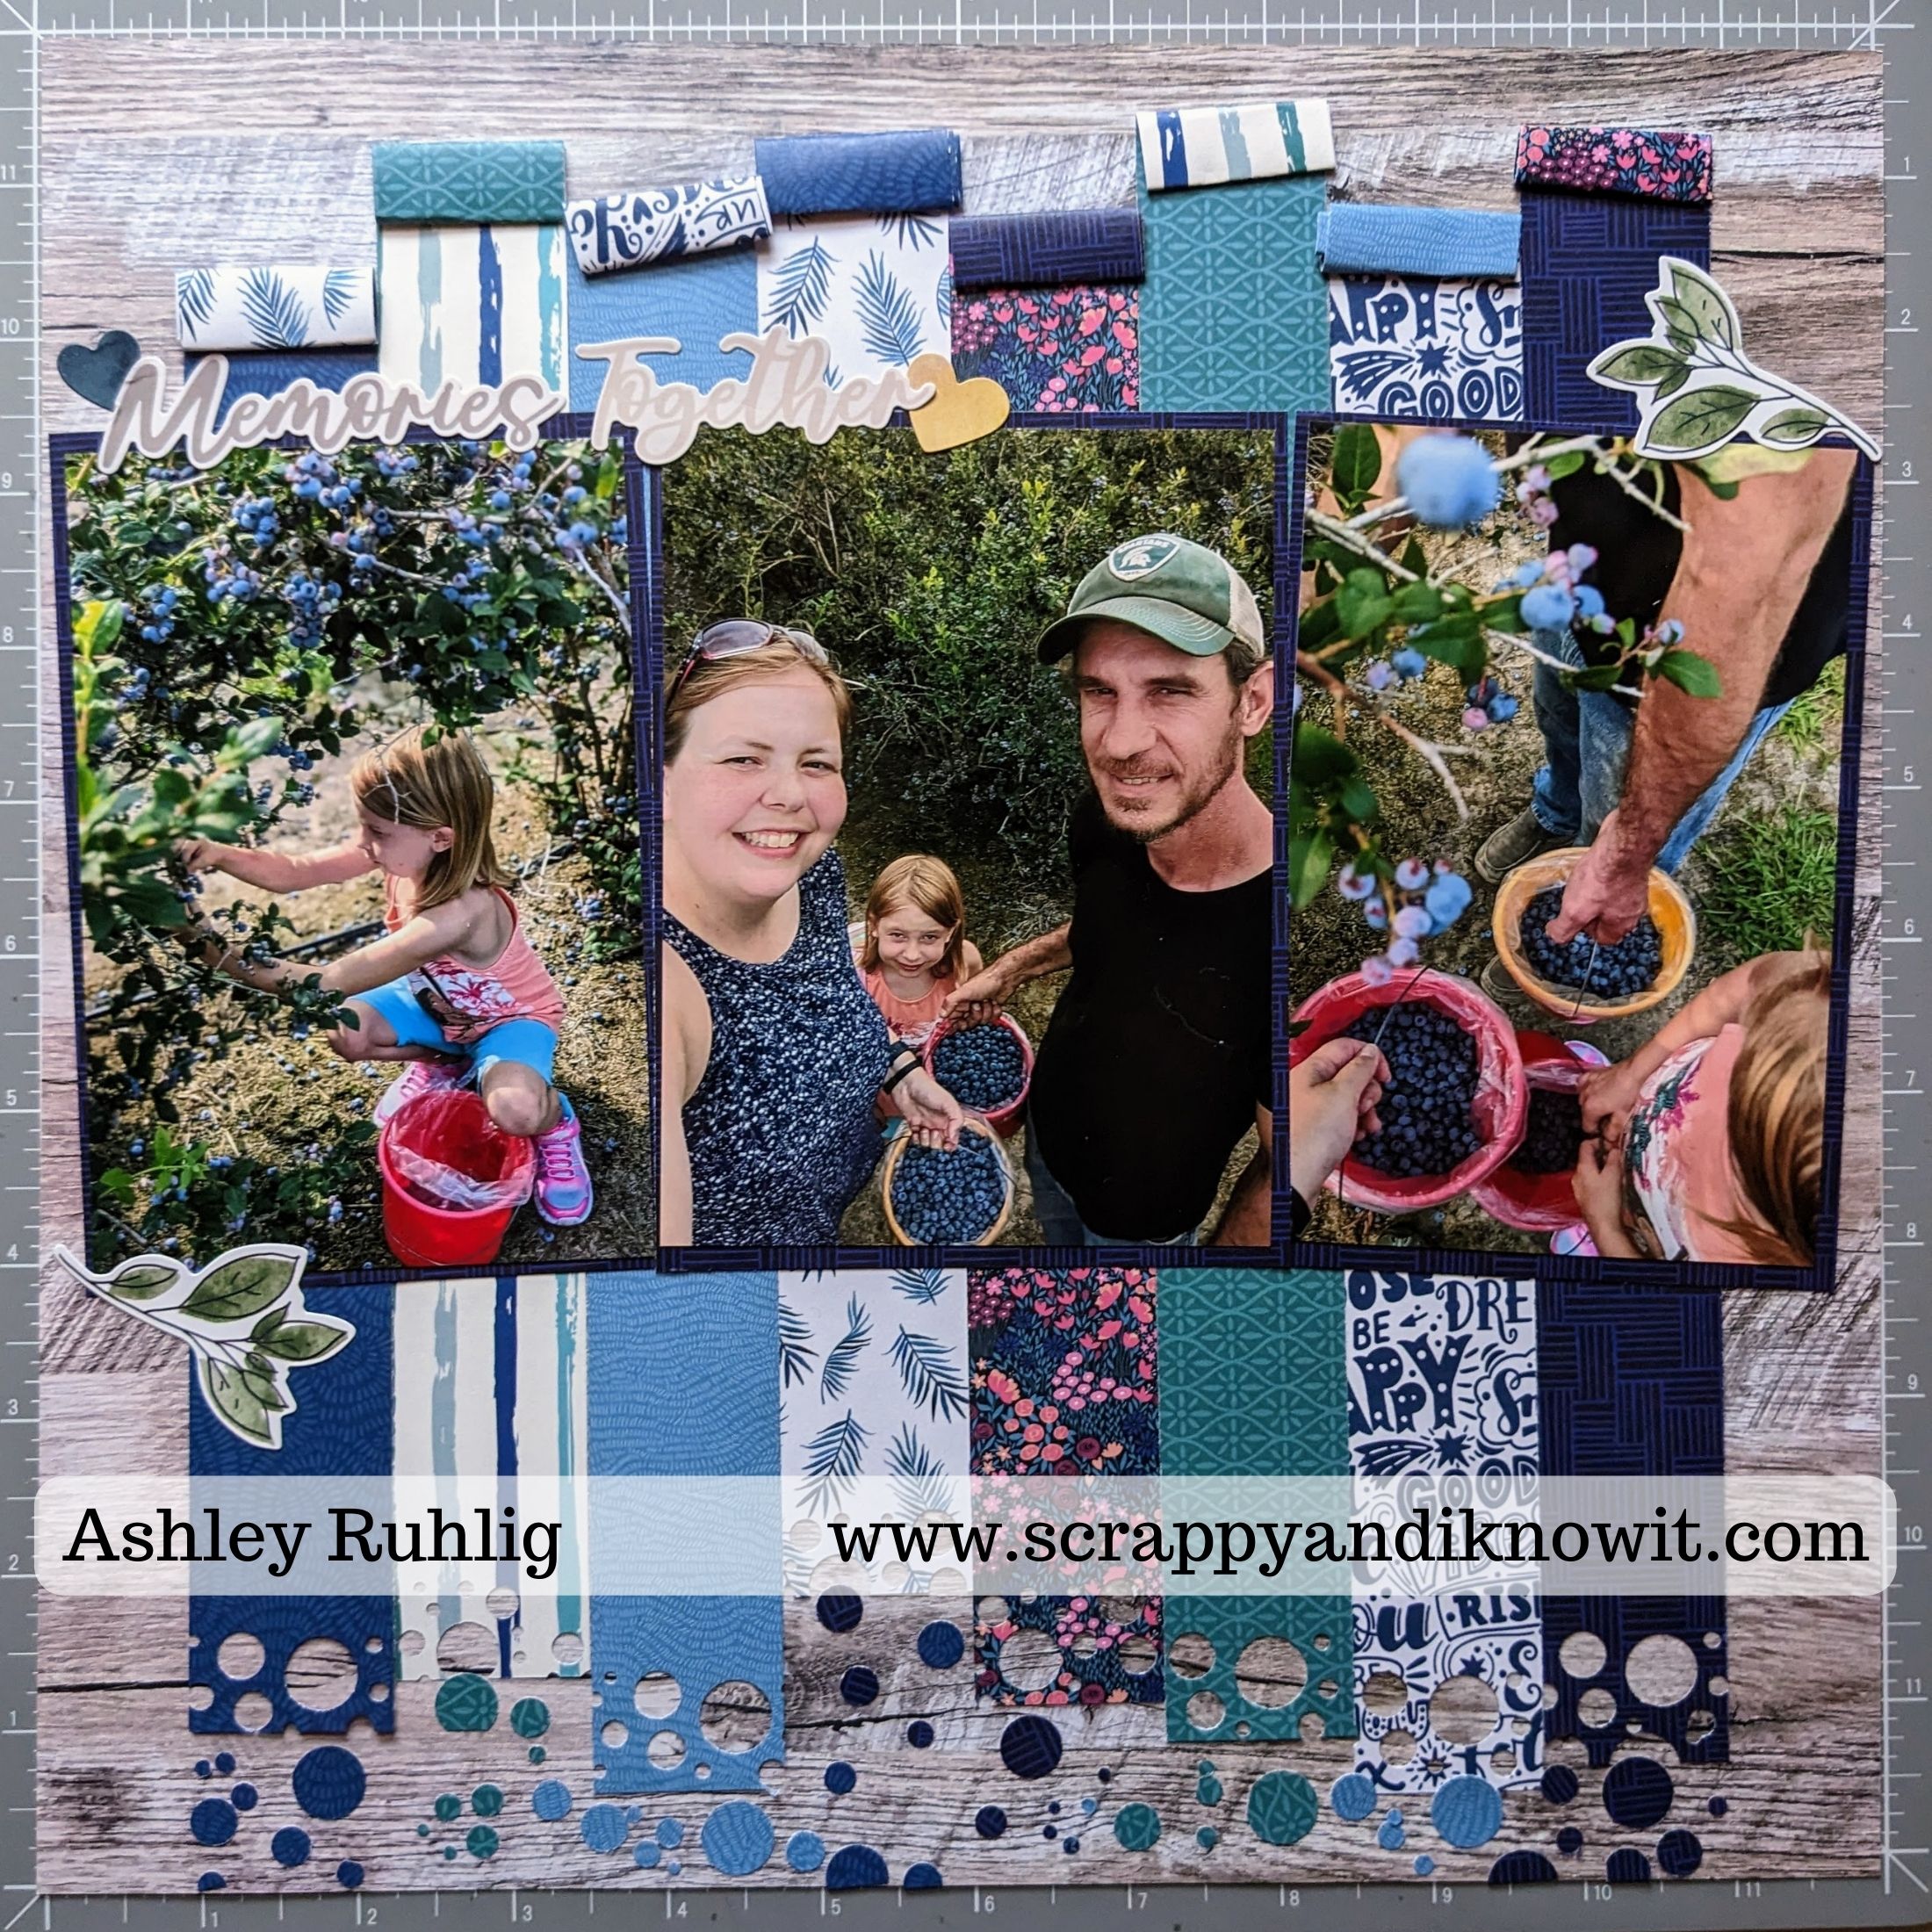
You’ll first need to pick out a few (I picked 4) different designer papers to make your strips out of, as well as a more muted designer paper for your base so your vibrant papers can stand out. You can play around with combinations to see what works best for you. I went with a muted wood for my background and some blue hues from the Positive Vibes collection that corresponds with blueberries well.

From there, you’ll need to cut out 8 strips of paper from your chosen papers for the strips at 1.25″ by 12″. I cut 2 strips from each paper and used both sides so I could make my papers go further.

Once those are cut, you’ll start rolling them to different lengths so you get a fun look to your page. The rolls don’t even have to be even, as the uneven look creates a more eye-catching border along the top. I used the Repositional Tape Runner to hold my rolls in place.


Next I used the now retired Bubbles Border Maker Cartridge to punch out the bottom of each strip to get my “blueberries.” You can use whatever punch you want to go with your theme. I have done a leaf page with this design before too.

I lined up the cartridge so that the circles ran off the edge of the strip in different ways, creating a more natural look. Save your circles that fall out for adhering along the bottom of your page later. It may help to keep them sorted by color if that’s what you want to do, or you can try mixing them!
After punching out each bottom edge, layout your strips on the paper the way you want them, then adhere them down at different lengths so that they don’t line up perfectly.

Trim your photos to how you want them to fit, then mat them. Adhere them on top of your strips.
For the most tedious part, you will want to use your Repositional Tape Runner to stick down your little bubbles from the punching. Depending on what the theme of your page is, you could do leaves, or any other designs that fit. Once those are adhered, embellish and journal as you would like and you’re done!

Have you tried this rolled layout? Share it in the comments!

