*This post contains affiliate links for products that I have used, loved, and want to share with you. If you click on those links, I may get a small commission at no additional cost to you.

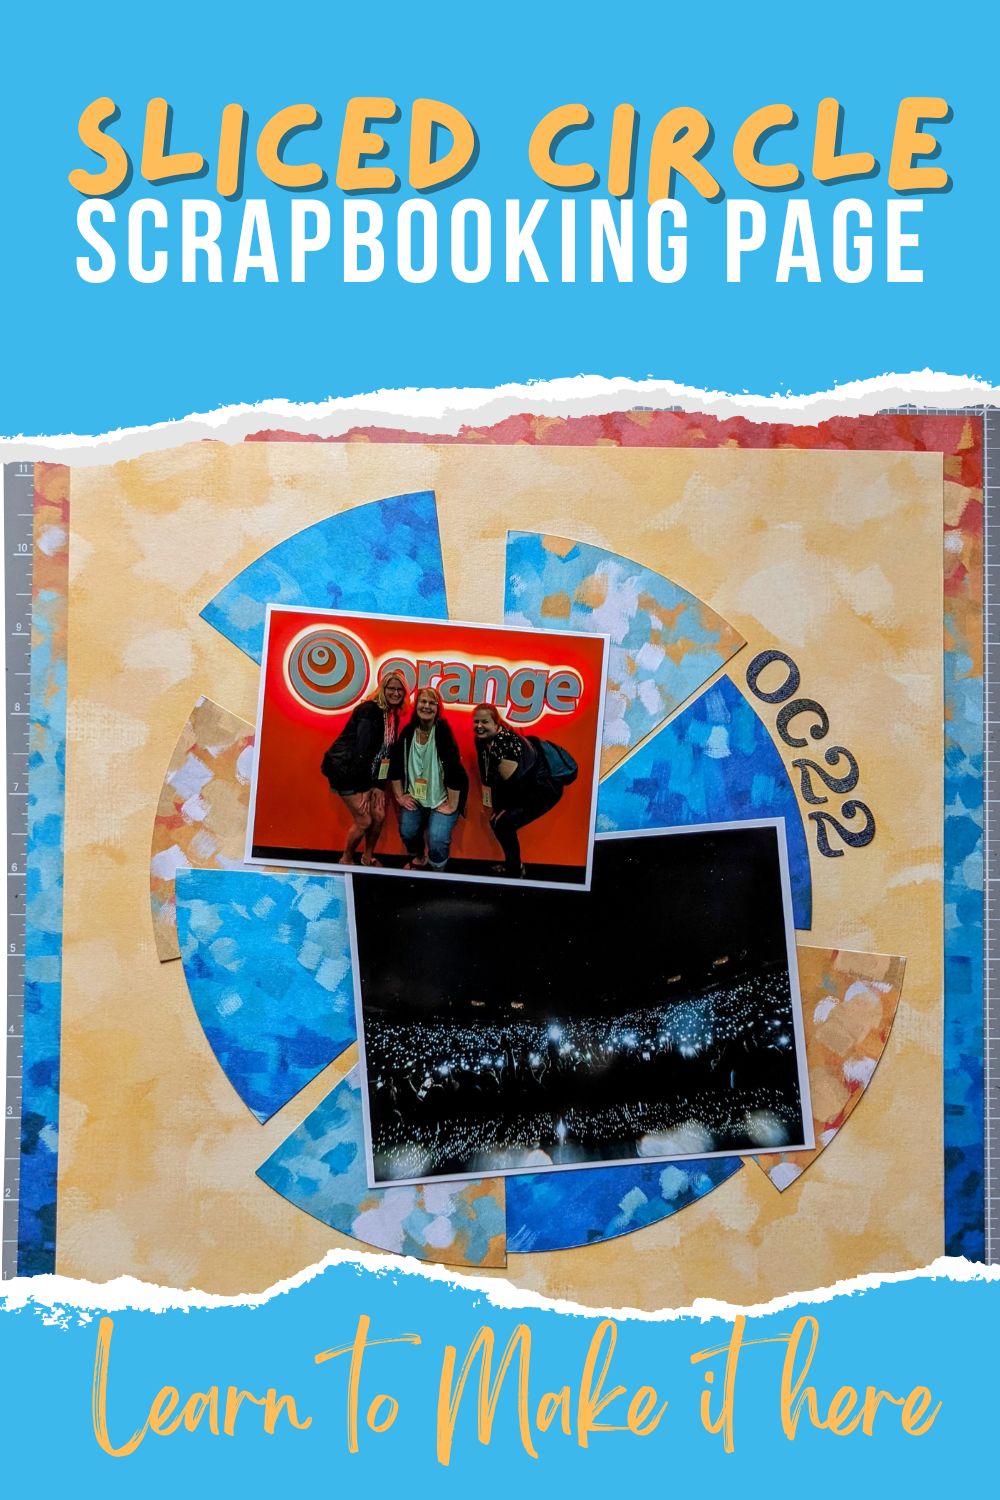
I just love to use shapes in creative ways when it comes to scrapbook layouts, and this one was no exception! Not to mention that it is so easy to make too.
I created this sliced circle scrapbook layout for a conference we went to for ministry. The Serene Waters collection was PERFECT for this page and the name of the conference is “Orange” and that collection offers great pops of it.
All this layout takes is a great collection of papers, some cutting, matting, and boom! You have an awesome sliced circle scrapbook layout!
What You Will Need:
To make the sliced circle scrapbook layout, you will need the Jumbo Circle Custom Cutting System Pattern, the Custom Cutting System 13×13 Mat, the Custom Cutting System Red Blade, the 12 inch Trimmer, Tape Runner, and coordinating embellishments.
For my layout, as I mentioned, I used the Serene Waters collection from Creative Memories, which is my absolute favorite collection! I think I’ve added that one to my cart more than any other. Here is another layout I’ve done using Serene Waters!
How To Create the Sliced Circle Scrapbook Layout

The first thing you will do, after picking out your paper of course, is cut your circle! To do this, grab your Jumbo Circle Pattern and your Red Blade and line it up in the center of your paper of choice for your sliced circle. I actually used the same paper that I used for my base so I could save paper. If you can/want to do that, be sure to leave a good margin so you can use your paper as the base. Cut your circle and set it aside.

Next you will cut your middle base paper (the orange sheet in my layout) so you can mat it onto the base. You will cut about an inch off of 2 sides so you end up with an 11 x 11 sheet for your sliced circle scrapbook layout, which you will eventually place your sliced circle on.
Once you have your sheet cut to size, you can go ahead and adhere it onto your base.
Next, we’ll be slicing up our circle! To do this evenly, you will need to find the center of your circle and make a small mark with a pencil. I lined my circle up on my Custom Cutting Mat and took the Zero Centering Ruler to find the place to put my mark. This part may sound tricky, but don’t overthink it. Just think of it like you’re slicing up a pie and you are trying to keep the pieces fair and even.

To the left, you can see that I lined my circle up on my mat. It’s harder to see, but I also drew little marks at 90, 60, 30, 0 degrees all the way around the circle, so I had an idea where I would be cutting. Then I lined up my ruler across and found the center and made a mark, as you can see to the right.

Now, you will take your 12 inch trimmer and cut 8 “slices” from your circle. I did this by cutting the circle in half first from mark to mark, then taking a half of the circle, and lining up each outer mark to the middle. Like cutting a pie.


Once you have your 8 slices, you can now place them around on your page so that they aren’t perfect, but have an almost “random” look about them.

Once you have your pieces where you like them, stick them down! I recommend using repositional tape runner in case you want to move them, but if you use regular tape runner, be sure to have your multipurpose tool handy in case you need to carefully scrape one up to move.
Next, all you are going to do is mat your photos, stick those where you want them, embellish, and journal! Then you have a beautiful sliced circle scrapbook layout!


One thought on “Enjoy A Slice of Life With This Sliced Circle Scrapbook Layout”
Comments are closed.