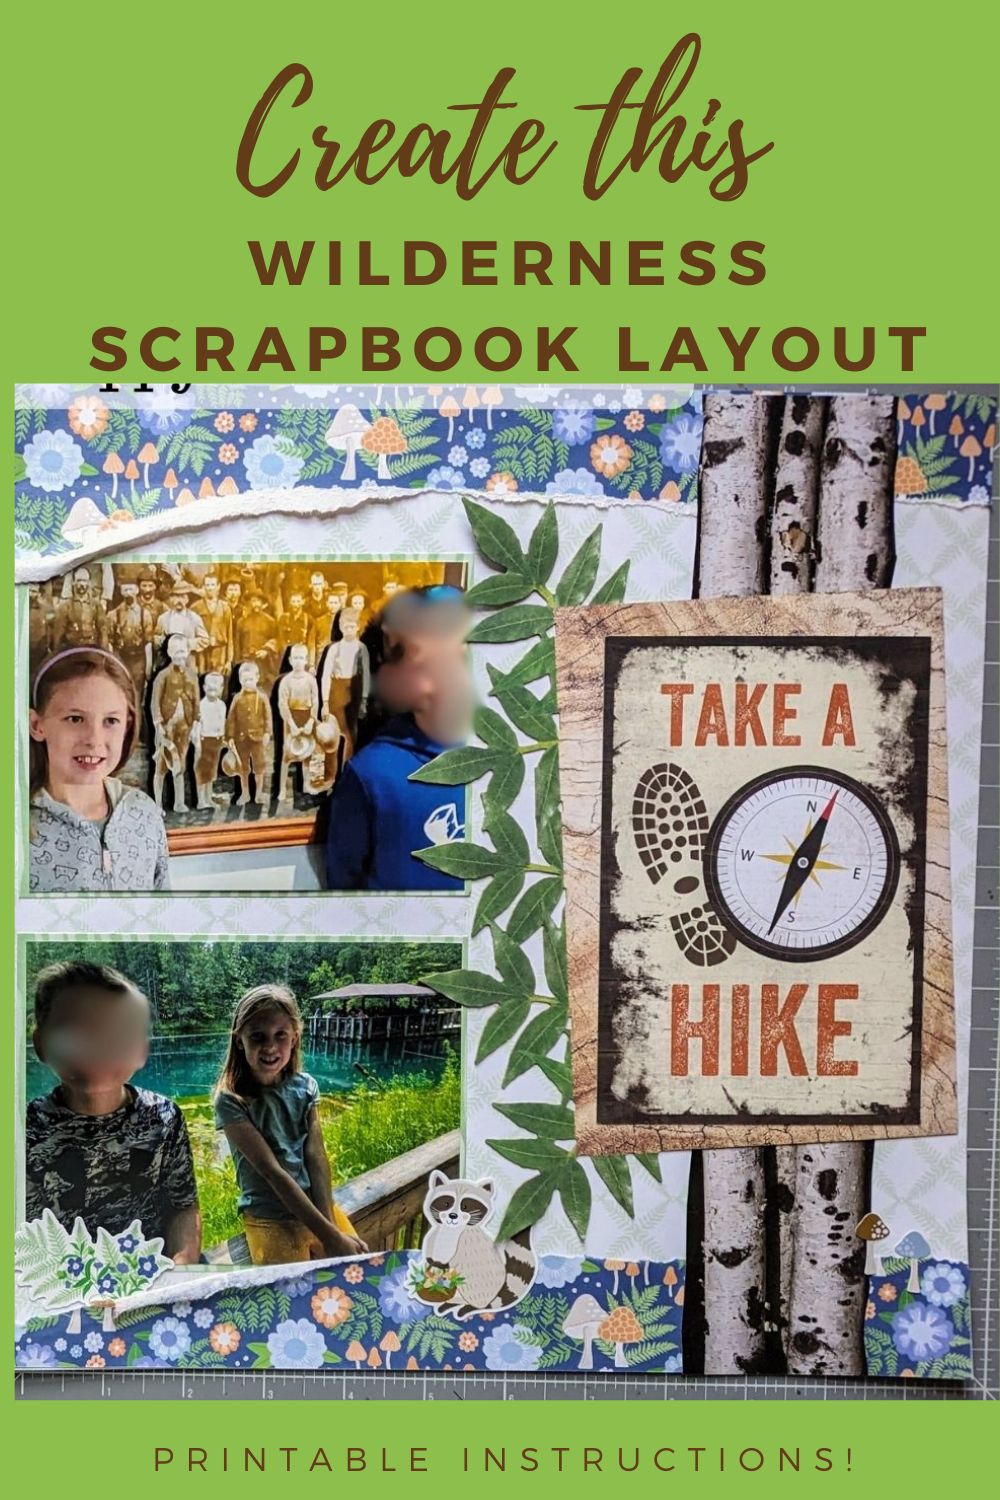

If you haven’t noticed, we spend a lot of time camping and outdoors, especially in the summer, so I’m always looking for wilderness scrapbook layout ideas. I was playing around with some different ways to “spruce” up my outdoorsy pages, when I found a sheet of paper with some pretty trees on it and decided to do some fussy cutting and arranging to make this fun spread! Check out how I do it in this post, and be sure to download printable instructions below!
What You Need for This Wilderness Scrapbook Layout
If you don’t have a sheet of paper with trees on them, no fear! Just find one that is wood, or use a piece of brown cardstock to create your trees. If you aren’t making a wilderness scrapbook layout, get creative and run with the theme you are working on!
You’ll also want a few other papers and cardstock choices for your borders, base, and photo mats that coordinate well. Also have your coordinating stickers, embellishments, and mats on hand to really decorate your wilderness scrapbook layout well.
For tools, I used my trusty 12 inch trimmer! This one is the best one I have ever owned and I highly recommend it. My Micro-Tip Scissors came in very handy for cutting around the trees to get a nice, clean, close cut. I created the leaves in this wilderness scrapbook layout with one of my shape punches to give it that lush, woodsy feel.
You’ll also want a good adhesive or two to keep your pages staying strong for years and years. These are high quality ones and there are so many varieties to help you piece together the page you want!
How to Create This Wilderness Scrapbook Layout
You’ll want to begin by tearing your borders. If you are doing 1 page, tear a strip of paper about an inch wide, then take your 12 inch trimmer and cut the next strip off at 1 inch so you have torn strips with a smooth edge on the other side. If you are doing a 2-page wilderness scrapbook layout like mine, you’ll need to repeat this process so you have 4 torn strips. Adhere these to the top and bottom of your base(s).
Next, find your tree paper, and use your Micro-Tip Scissors to fussy cut your trees out. I did these at various widths, but you’ll want the full 12″ length so they span the height of your page. Once you have what you want, stick those down on your bases, over your top and bottom borders.
Then, trim down 4 of your photos to about 4″ x 4″ and mat each of them on a paper design of your choice. The mats will be narrow at about 4-1/4″ x 4-1/4″. For your other 2 photos, you can leave them at 6″ x 4″, but note that mine are slightly smaller as I do the Digital size prints. They are more like 5-1/2″ x 4″. Mat those on pieces that are 1/4″ larger than your photos. Adhere your photos as shown in the picture.
For your title, you can choose a mat that suites what you want, or create a title with your Cricut or ABC Stickers on top of a designer mat. I used a leaf punch to embellish my layout with, and they went very well with the trees.
Finish off your wilderness scrapbook layout with some journaling, and you have yourself a fabulous spread for your scrapbook!
Wrap Up
Whatever theme you go with for this scrapbook layout, I hope it turns out wonderful for you! Feel free to share what you come up with in my Facebook Group and get more ideas there for your future layouts.
If you want to see more of the awesome products I love to scrapbook with, you can check those out at the button below!
Download Printable Instructions
More Tips and Layouts


*This post contains affiliate links for products that I have used, loved, and want to share with you. If you click on those links, I may get a small commission at no additional cost to you.

