
Be sure to download the instructions below for this springy scrapbook layout! The layout is originally from the Creative Memories blog. Keep reading for more tips, and be sure to download your instructions below.
What You Need For This Springy Scrapbook Layout
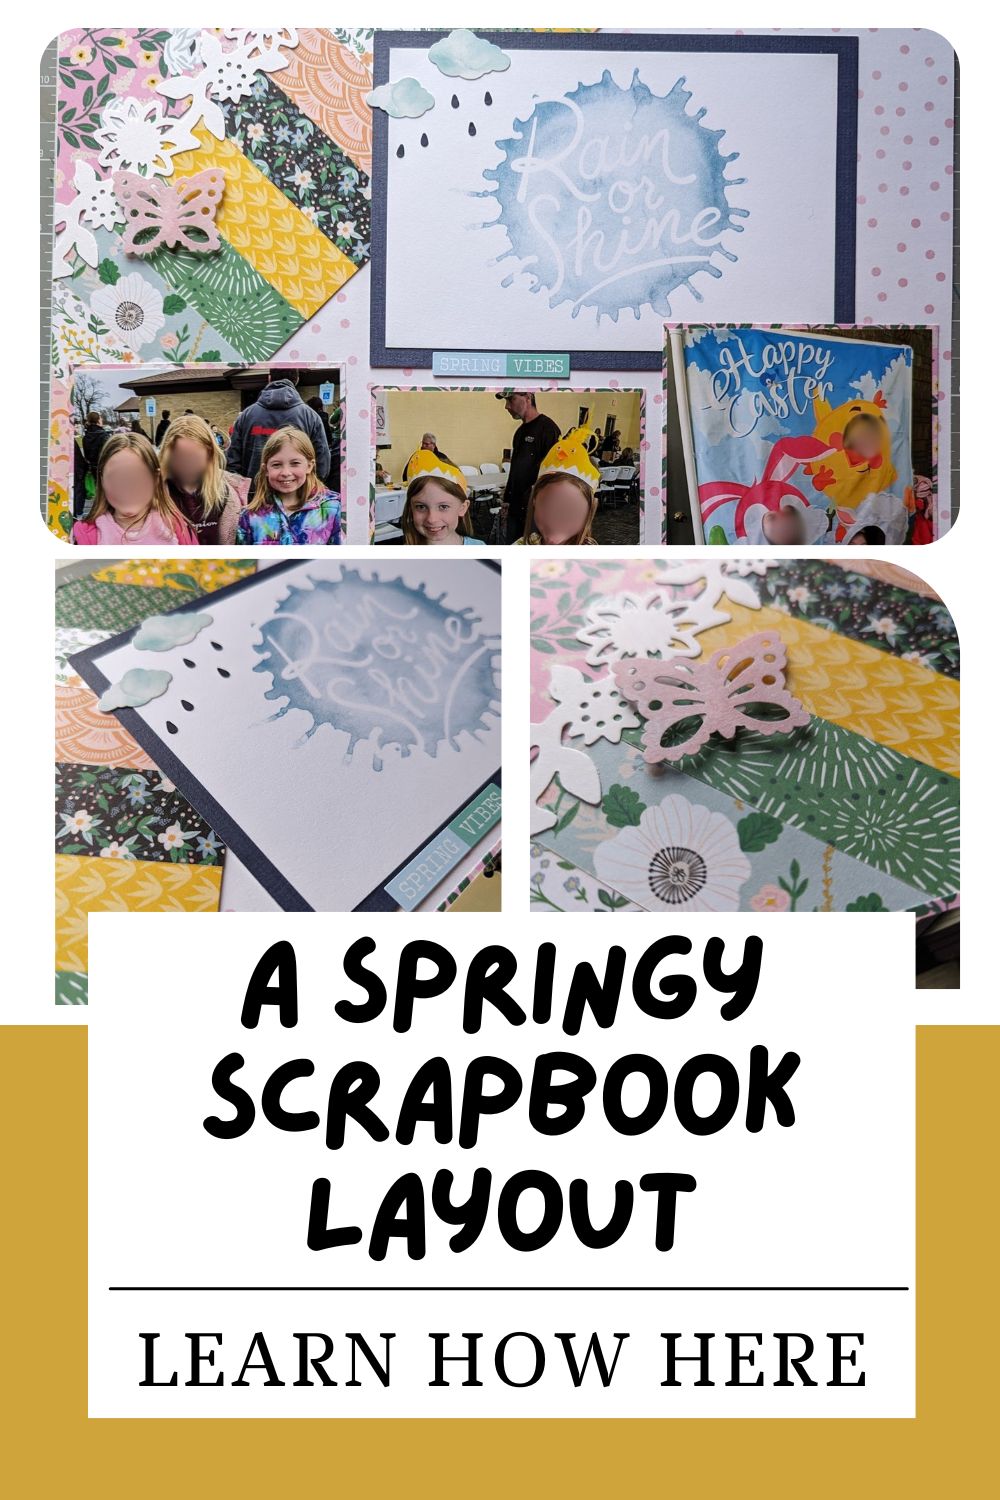
Pick a 12×12 base paper for your page, as well as multiple designer papers to create the elements of your page. I also used mats for my title section.
I used different, older papers from Creative Memories to put together my page. I also used stickers and the mats from the older Spring Medley collection. I embellished my page with punches from Creative Memories as well, using foam squares to make the butterflies pop off the page.
You will also want your basic tools, like your 12 inch trimmer and various adhesives.
How To Make This Springy Scrapbook Layout

Begin by selecting your 12×12 base paper. Select another sheet for your corner triangle. Cut a 4″x4″ square from the paper and then cut the square in half. Use one of the triangles to adhere to the top, left corner of your 12 x 12 base.
Next, you’ll need a 12″ x 3″ strip of white cardstock to adhere your border strips to. Select various papers to create 12 strips sized at 1″ x 3″ and adhere them onto your cardstock base, mixing them to your preference.

Adhere the border strip just underneath the triangle towards the left corner. Then turn your layout over and trim off any of the border hanging off the edge of your page with the trimmer or scissors.
Punch out a border or use a sticker to put over the seam where your triangle corner meets the border strips.
Choose a large mat and a regular mat to adhere to your layout for your title. You can also just create your own by using paper trimmed to 6″ x 4″ for the title/journal section, and mat it on 6-1/2″ x 4-1/2″.

Trim your photos to 3-1/2″ x 5″ and mat, then adhere to your layout as shown.
Add embellishments and journal. You can use punches that coordinate with your theme. Help them pop off the page by adding foam squares if you desire.
Wrap Up
I hope you can use this layout for whatever theme you are working on! You can certainly use it for any occasion or season. Remember to download your printable instructions below.
If you don’t already have a Creative Memories Advisor, I would love to be yours! Feel free to shop my site at the button below and check out all that Creative Memories has to offer.
More Tips and Layouts to Try:


*This post contains affiliate links for products that I have used, loved, and want to share with you. If you click on those links, I may get a small commission at no additional cost to you.

