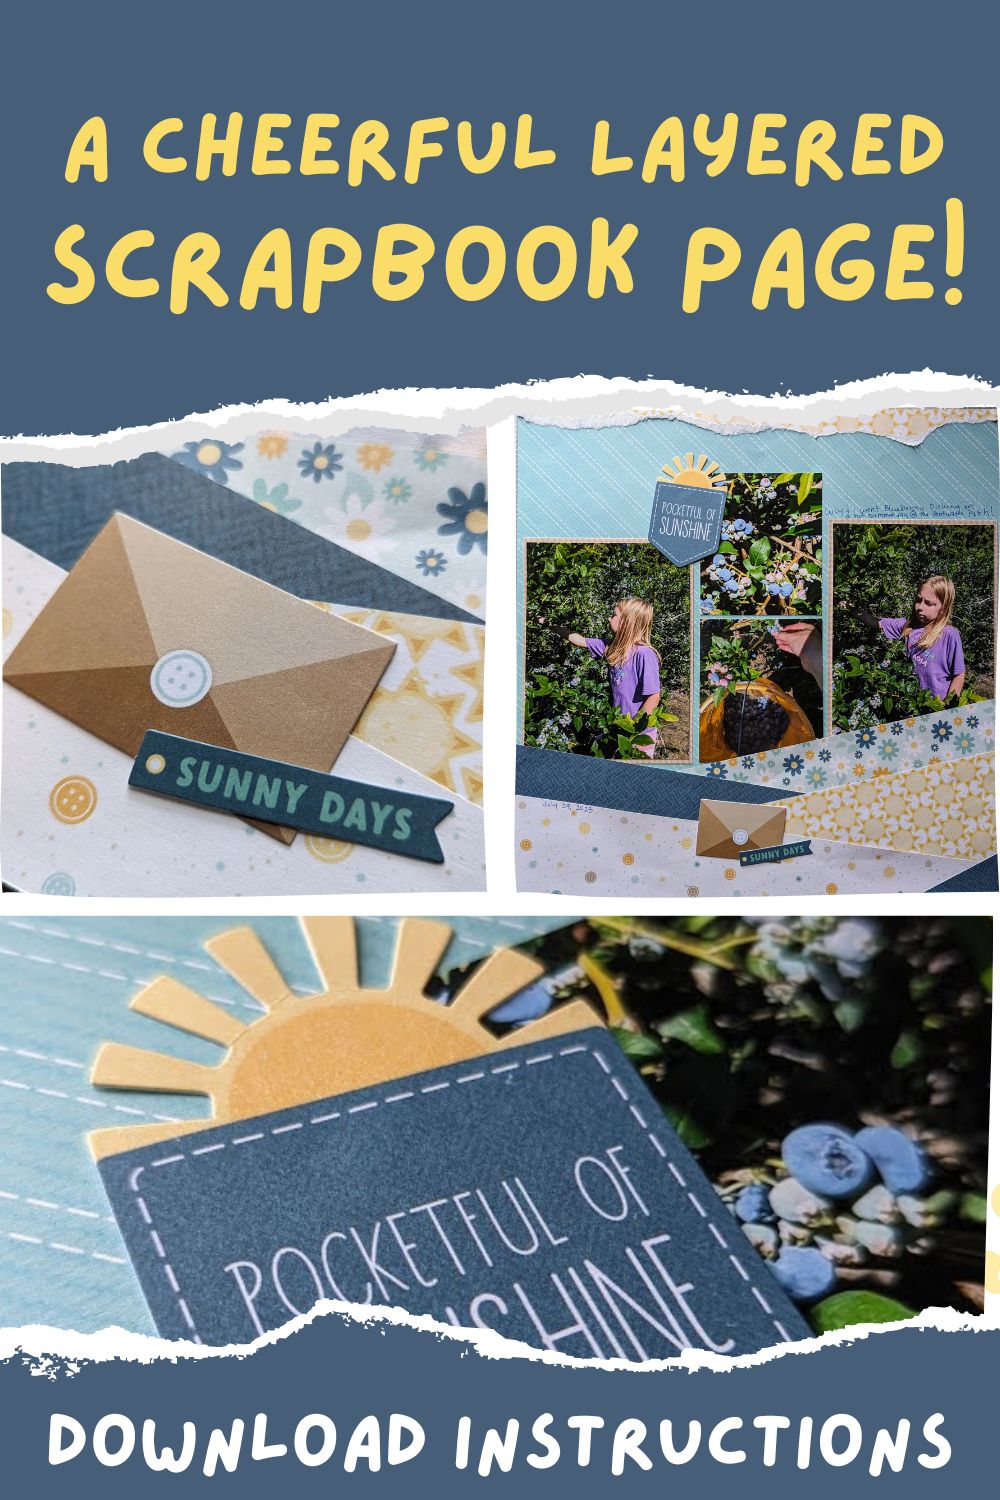

Oftentimes, I get to the end of a paper pack and have lots of half sheets, or partial sheets left that I would like to just use up. This sunny, layered scrapbook page helped me use up the rest of one of my collections, and it was perfect for sharing our warm day of blueberry picking last summer. I found a sketch on Creative Memories’ Blog, and adapted it slightly to fit what I needed. Check out how you can use this layered scrapbook page layout for your next page too!
What I Used To Make the Layered Scrapbook Page
As a Creative Memories Advisor, I get access to lots of exclusive products, so the paper and embellishments I used for this layout came from an exclusive set called Summer Denim. This is one of the many reason I love being an Advisor, but you can see more of the other ones here.
A trimmer is essential for this layout in my opinion. The CM 12 inch trimmer is definitely a favorite tool in my resources that I can’t rave enough about. You will also need adhesive and even some repositional tape runner to help you with placing your layers the way you would like them for your layered scrapbook page.
The photos I used are 4″x5.5″ and 3″ x 3.5″, but you are welcome to adapt to what you need for your page!

How To Make The Layered Scrapbook Page
You will want to start with your base and then play around with your papers you will be using to layer at the bottom. I just angled them different ways, changing out certain patterns and worked on creating enough layers to cover any of the base showing through.

You can trim down your papers so they are easier to manage, but it is helpful to leave them large enough that you can angle them to cover more if needed. I did cut this piece at more of an angle so it was easier to fit in the way I wanted.
Just keep working with your layers until you have it how you like it. This was honestly the part that took me the longest, but it really wasn’t hard at all.


I did have a little gap in the corner of my page, as you can see above, but I just took a scrap that I had trimmed off the overhanging pieces, and used that to create another mini-layer! It looked so cute!
Once you have all of your layers down, trim down your photos and mat the largest ones. My photos were 4″ x 5.5″ (I do the True Digital sized prints so nothing gets cut off), and the smaller ones ended up being 3″x 3.5″ once I got them how I liked them to fit.

I had a strip of paper from the same collection that was torn, so I used that as my top border. You can use a strip that is about 1/2″ – 3/4″ X 12″.
Finally, just add some embellishments and journaling. It is good to have a title to bring the page together, but one of my embellishments did that for me.
I hope you enjoy your layered scrapbook page for any theme you make one for! I could see this working great for sunny day pictures and snowy ones alike! Download the instructions below so you can have them for future reference.
Check out more tips and layouts!


*This post contains affiliate links for products that I have used, loved, and want to share with you. If you click on those links, I may get a small commission at no additional cost to you.


One thought on “Celebrate Brighter Days with This Layered Scrapbook Page”
Comments are closed.