*This post contains affiliate links for products that I have used, loved, and want to share with you. If you click on those links, I may get a small commission at no additional cost to you.

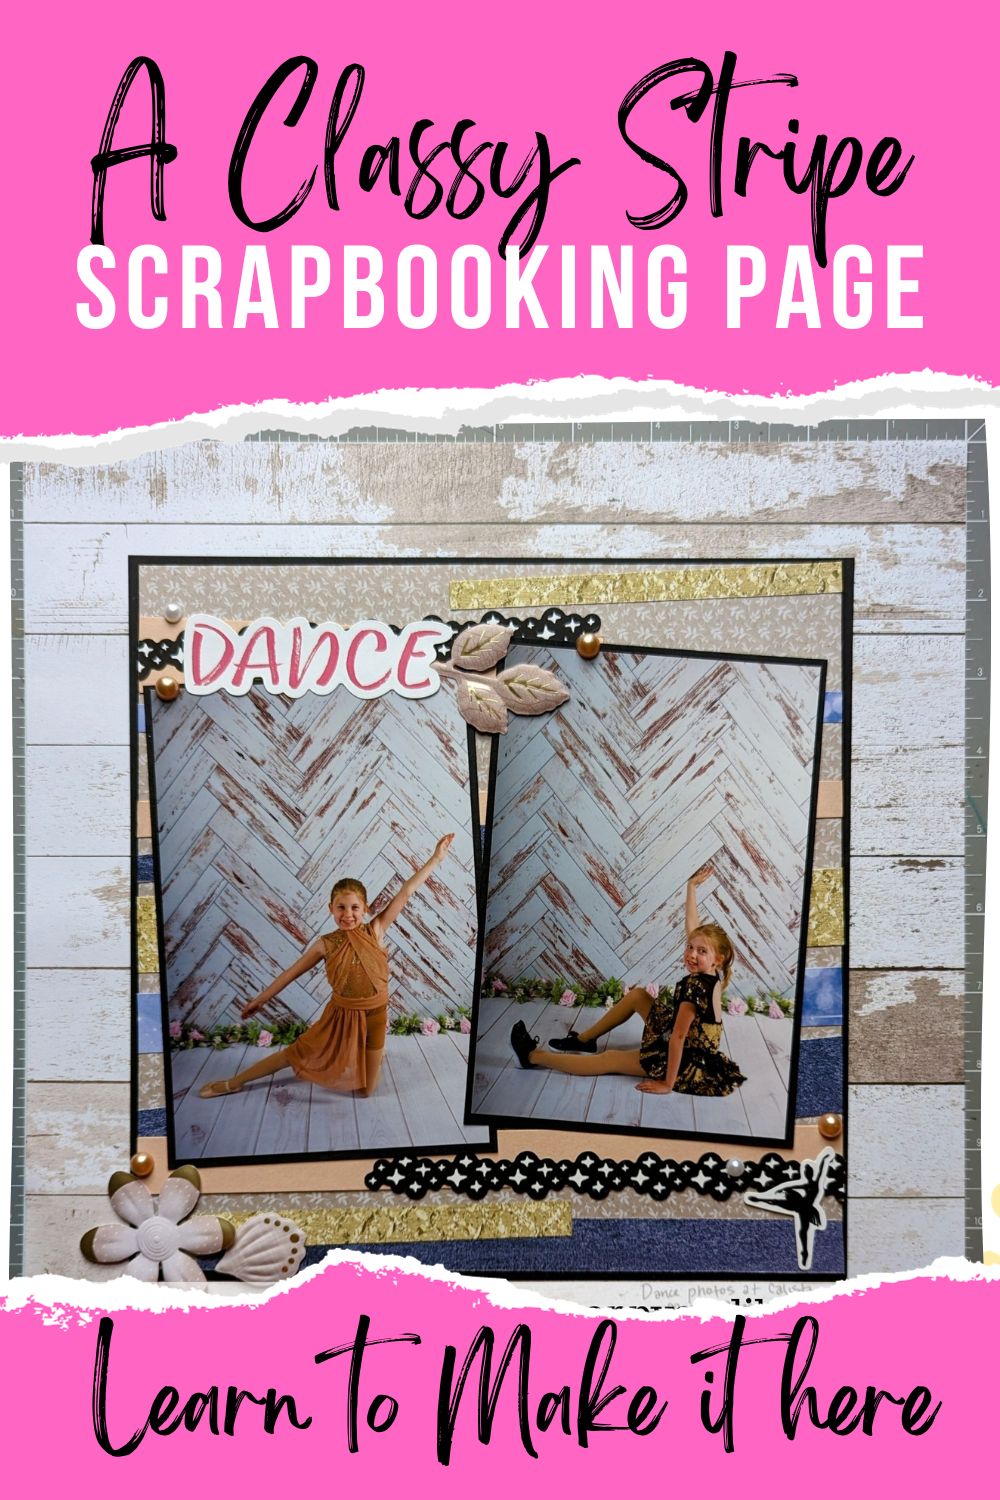
This classy layout is easier than it looks! Grab your 12-inch trimmer, coordinating papers, and follow the instructions below and/or watch the instructional video, also below!
Choose Your Pictures & Papers
The first step to any layout is picking your photos and/or your papers. Some people can put together a layout without pictures, and that is totally fine! I have a harder time with that because I base a lot of my papers and embellishments off of what the pictures are portraying.
Depending on how you want to work with this layout, select what your base will be, your mat color, and your other designs/colors. I used 2 colors of cardstock and 5 different designs on my layout, but you could get away with 3-4 as well. This was definitely the hardest part for me!
Trim Your Papers

Once you have picked what papers you are using for which parts of the layout, start cutting them to the sizes they need to be. Your base will be 12×12. The next layer, which is the mat your top paper will go on will need to be cut to 9-1/4″ x 9-1/4″. Your paper that will have the strips adhered to it, that will go on that mat, will need to be trimmed to a 9″ x 9″ square.
Once you have those squares made, create your strips. I did 3-4 strips from each of the colors/designs I had picked out. These will range from 1″ x 12″ all the way down to 1/4″ x 12″. You will also do some that are 3/4″ x 12″, and 1/2″ x 12″. I ended up with 15-16 strips to work with.
Lay out your strips on the 9″ x 9″ square you created earlier, in various slants to create a backdrop you like.
Stick It All Together

Once you have your strips the way you like, it’s time to create a classy scrapbook layout! Use Repositional Tape Runner to put your strips on. Once you have those all glued down, either trim off the excess, hanging over the edge, or fold it over and glue it down to the back.
Adhere your 9″ x 9″ square to your mat square, the 9-1/4″ x 9-1/4″ square, then center and adhere that to the base, 12″ x 12″ paper.
Mat your photos and adhere those on top of your strips.
Decorate & Journal

My favorite part! Decorate your page with coordinating embellishments and stickers. I used the Just Dance Theme Pack stickers from Creative Memories, as well as some of their Botanical Burst flower embellishments.
Journal if you desire and you are done!
Download an instructional sheet to create a classy scrapbook layout below!

Create This Layout Next! Click the image to see that post.

Start organizing like a pro! Click the image to see some tips.

Roll with this fun layout next! Click the image to make it.


One thought on “Create A Classy Scrapbook Layout in 4 Easy Steps (Downloadable Instructions)”
Comments are closed.