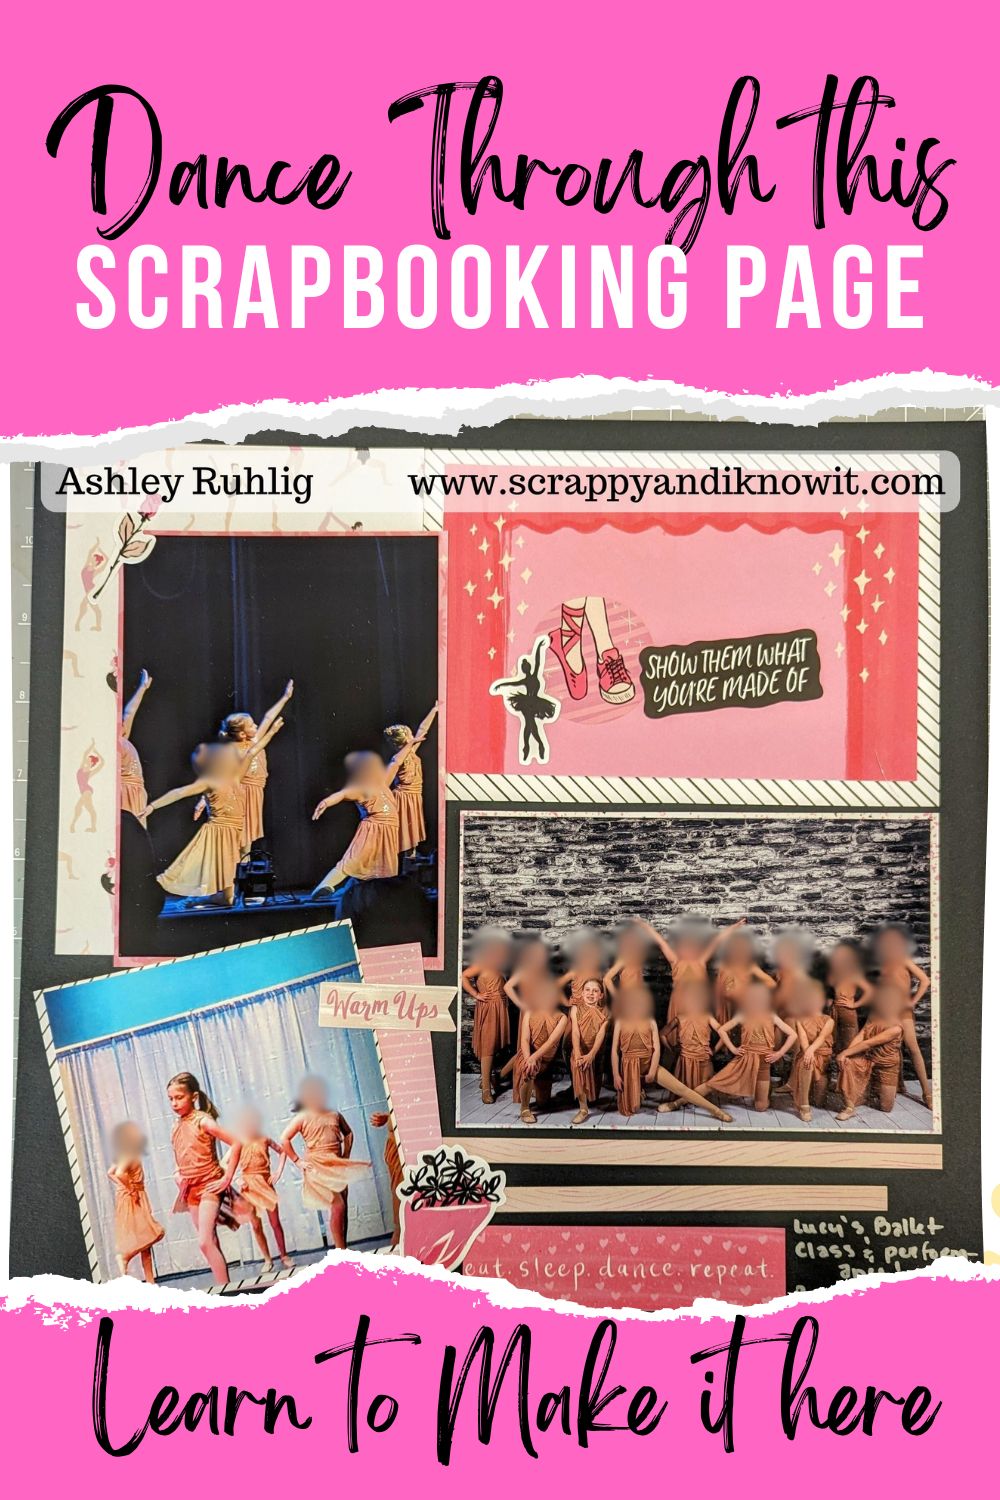
Challenge 3 of our April Virtual Crop brings us to this dazzling scrapbook page, based on a layout from the Creative Memories blog. So let’s get moving and dance our way through this scrapbook page!
What You Need to Create This Scrapbook Page:
This layout is founded on lots of mats, whether you cut them out, or use some from your variety mat packs. Keep this in mind as you select your papers, as you might want to work in some of your mats instead.
You will want your 12 inch trimmer, adhesives, and lots of variety of papers that go with the theme you are working with. I used the current Theme Pack from Creative Memories called Just Dance.
How To Create This Scrapbook Page:
You will begin by selecting your base, which will be a 12 x 12 paper or cardstock that best compliments your other papers and photos.
I made all of my mat cuts first, then layered them on. So to begin, cut 3 mats out (or select mats) that are 4-1/2″ x 6-1/2″. Then cut or select 2 mats that are 4-1/2″ x 4-1/2″. Finally, cut 2 mats to 4-1/2″ x 3″. I choose to leave that center strip off because it didn’t fit with my photos, but if you want that, cut another strip of paper to 1-1/4″ x 6-1/2″.
After all of your pieces are created, start layering them on your scrapbook page, per the sketch/instructions below that you can download. Begin with the top, left by placing one of your 4-1/2″ x 6-1/2″ mats near the corner, leaving about a 1/2″ margin.
Next, adhere another 4-1/2″ x 6-1/2″ mat, horizontally, to the top, right of your page, butting right up to your other mat. Layer either a journal mat, title mat, or photo onto that horizontal mat you just place. This will need to be 4″ x 6″. I went with a title mat and layered stickers on to create my title.
Next, layer your final 4-1/2″ x 6-1/2″ mat/cut piece off-set from your vertical, top right mat, as shown. This should slightly overlap your 4″x 6″ mat/photo you just placed in the horizonal zone. Place a 4″ x 6″ photo on top of this mat you just stuck down.
Now, we’ll layer our 4-1/2″ x 4-1/2″ mats. Lay down your first smaller mat, slightly turned and just overlapping the bottom of your top, vertical mat in toward the bottom, left, as shown. Next, layer on your other 4-1/2″ x 4-1/2″ mat, turned even more, on top of the other smaller mat you just placed. Finally, adhere a 4″ x 4″ photo on top of that top, square mat.
Next, line your 4-1/2″ x 3″ mats up just under your previously placed horizonal mats, near the bottom, right, as shown. You will want to leave a tiny gap between the top right mats and the bottom right mats. Adhere both mats, butted up to each other in the bottom right. Trim 2 photos to 4″ x 2-3/4″ and adhere them on the mats you just placed.
Place your border strip piece (the 1-1/4″ x 6-1/2″) alongside the mats and photos you just placed, layering under your 4-1/2″ x 4-1/2″ mat slightly, if desired.
Finally, add any border stickers, embellishments, and journaling to your scrapbook page to bring it all together.
Wrap Up
This scrapbook page has layers and layers of mats on it, but it looks really cool when it is complete! I hope yours turns out well! Remember that you can download printable instructions below to save them for later. If you are participating in my April 2024 Virtual Crop, be sure to head on over to my Facebook Group, request to join if you are not already in it, and post a pic of your completed page to the challenge 3 post comments to get into the challenge drawing by Thursday, May 2 at 11:59pm!
If you don’t already have a Creative Memories Advisor, I would love to be your gal! You can shop my CM site at the button below, and be sure to follow my page on Facebook to get updates!
Download Instructions:
Other Tips and Layouts
*This post contains affiliate links for products that I have used, loved, and want to share with you. If you click on those links, I may get a small commission at no additional cost to you.


One thought on “5, 6, 7,8! Dance Through This Scrapbook Page With A Dazzling Display”
Comments are closed.