*This post contains affiliate links for products that I have used, loved, and want to share with you. If you click on those links, I may get a small commission at no additional cost to you.


I took a walk through the Creative Memories blog and noticed this triangle border scrapbook page again from their blog post in November of 2022. Being that it looked a little intimidating, I would scroll by and decide to try it later. However, I finally decided to give it a try, and it definitely wasn’t as scary as I thought it would be.
Be sure to scroll to the bottom of this post to see a video walking through how to create this fun page! And be sure to stay updated either through my Facebook Page or via my email blast (1-2 times per month) by subscribing to those.
In case you are following around with both my instructions and the ones on the CM blog, it’s important to know that I did measure my pieces slightly different because I didn’t want the white edge around my page.
Supplies I Used:

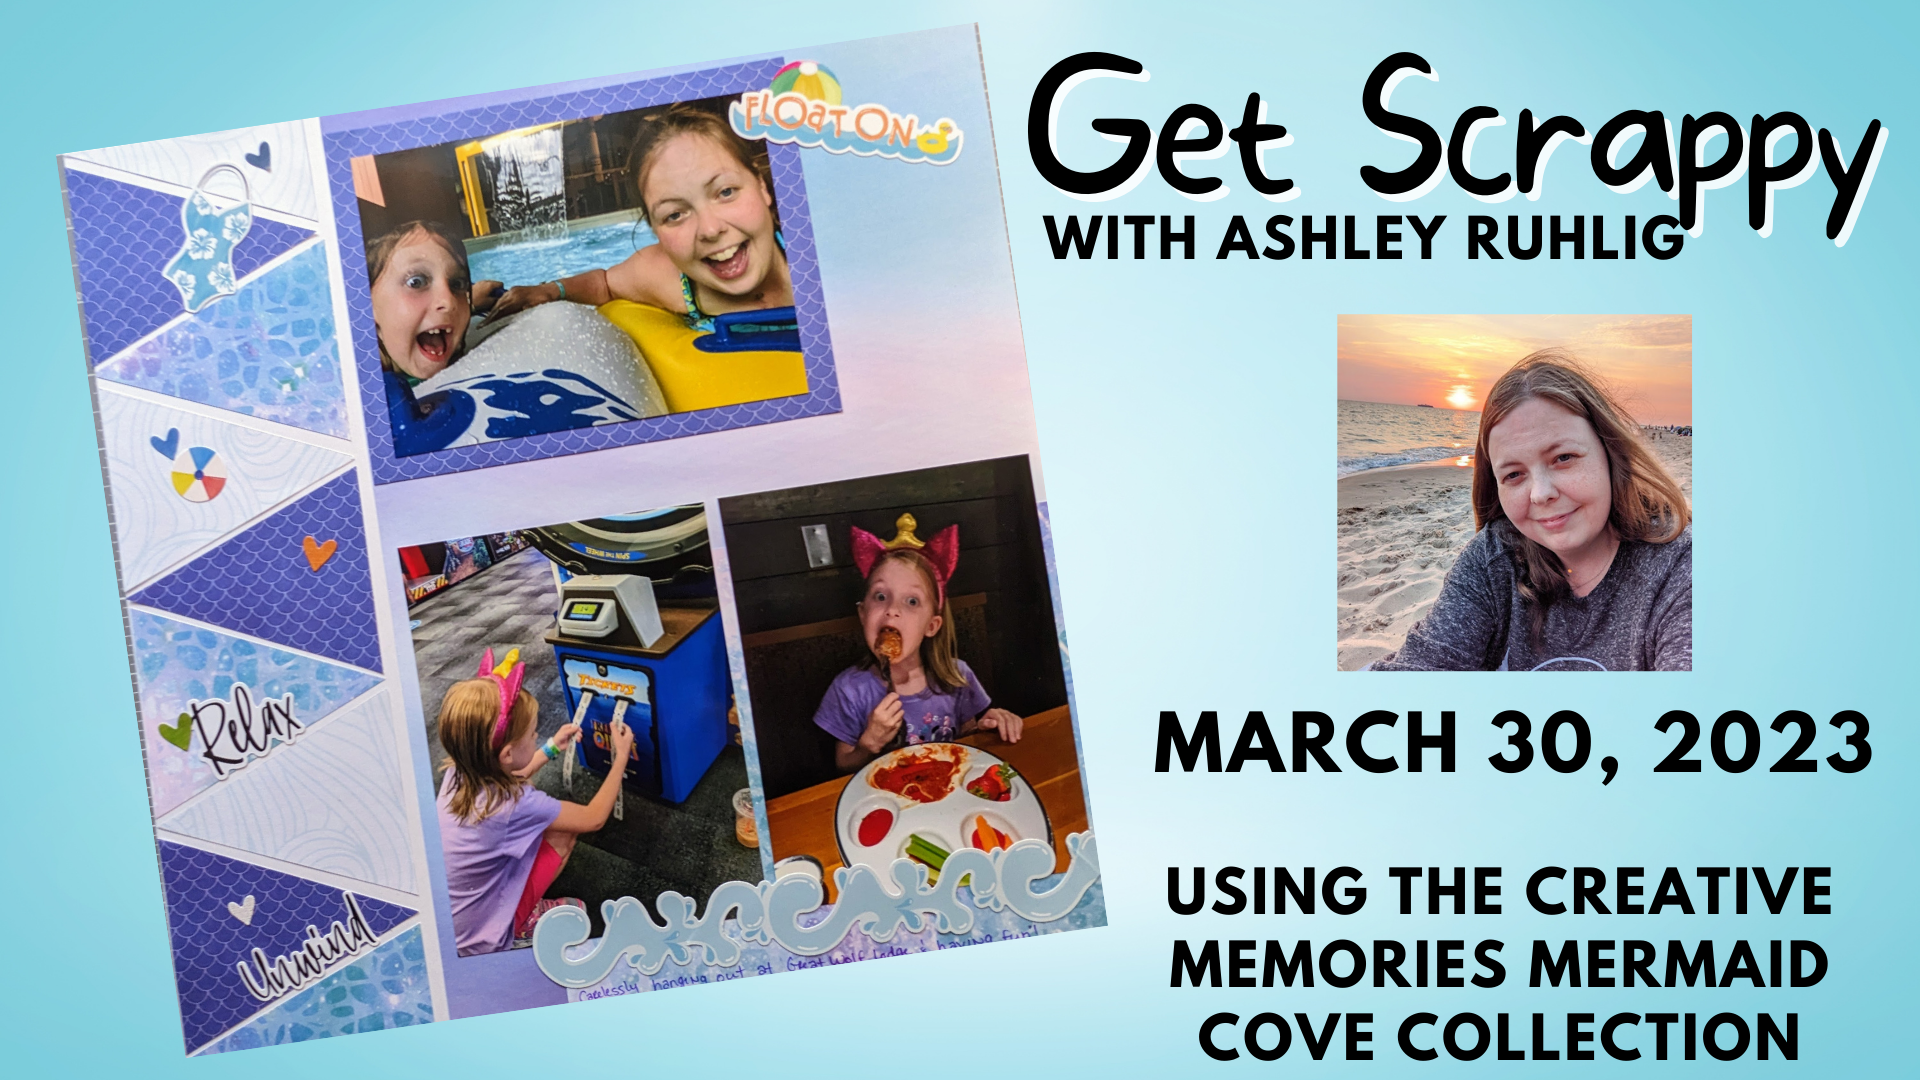
I dug up some of my old Mermaid Cove collection, (you can still get it as of the time of writing this post), along with some other random, summer embellishments to decorate my page. The purples, blues, and pinks of these papers went nicely with the pictures I was using, while the pops of color from the stickers assisted in bringing this triangle border scrapbook page together and keep the eye moving.
I used a simple sheet of white cardstock for the base, as well as found my 13 x 13 Custom Cutting Mat to be essential for creating this layout. Having the measurements right there really helped to bring it together evenly and know how to line things up.
I also found the repositional tape runner helpful in sticking down the triangles so I knew I could move them around if I wanted to change up their position.
How To Create The Triangle Border Scrapbook Page:
You will need a base sheet of cardstock. I used white, as I think it worked best with my colors. Pick out a few designer papers that go well together, either from the same collection, or complimenting collections.

Trim 2-3 strips, measuring 12″ x 3 1/4″. If you are using the patterns on both sides of one of the strips, you can get away with only needing 2. You will want to make sure you have 3 different designs to work with.
From there, line one of your strips up on the 13×13 custom cutting mat and draw a small dot with pencil at the 2 3/4″ mark. Then, find the spot between the edge and the mark you just make at the 1 3/8″ spot, and draw a dot on the other side of the strip (not turning it over, but across the strip from the first dot). Draw a faint line with the pencil from the bottom corner opposite of the 1 3/8″ up to that 1 3/8″ mark, then back across to the 2 3/4″ mark to form a triangle.

Cut out the triangle with your personal trimmer and use that one as a template to create the rest of your triangles. You will want about 9 triangles total to work with between your 3 designs. I had 3 triangles for each of the designs.
Layout your triangles to one side of your page, mixing up the designs as you go, and leaving a little space for the base to show through between them. You will have a space at the top and the bottom to be filled in by half triangles, meaning you will cut one or two of your 9 triangles in half. I would wait until you lay them all out first to see which designs you need so they are mixed up how you want them without waste.
Once you have them all where you want them, including the ones you cut in half for the top and bottom of the border, start sticking them down with your repositional tape runner.
You’ll now cut a piece of designer paper to be your secondary base on the opposite end of your page from your triangles. My sheet measured 8 5/8″ wide and 12″ long. It should be wide enough to cover the rest of your page, but leave a small line of the base color between it and the triangle border. Adhere it down.
Next, you can add the larger rectangle piece towards the bottom of your page, just under where you’ll place your bottom photos. I cut a scrap piece left from making my triangles that measured about 5 1/2″ x 7″ and stuck it down at the bottom, left corner, or the corner opposite of your triangles.
I only matted my top photo on another leftover piece from cutting my triangles. You’ll want the mat to have wider edges so it stands out more on the page. Then adhere all of your photos in the places you want them.
Finally, embellish with complimenting stickers and embellishments, and journal! You now have a fun triangle border scrapbook page!
Need Scrapbooking Supplies?
If you need supplies to create your own beautiful layouts, like this triangle border scrapbook page, and you don’t have a Creative Memories Advisor yet, consider shopping with me at the button below!
Check Out These Other Articles of Mine:


