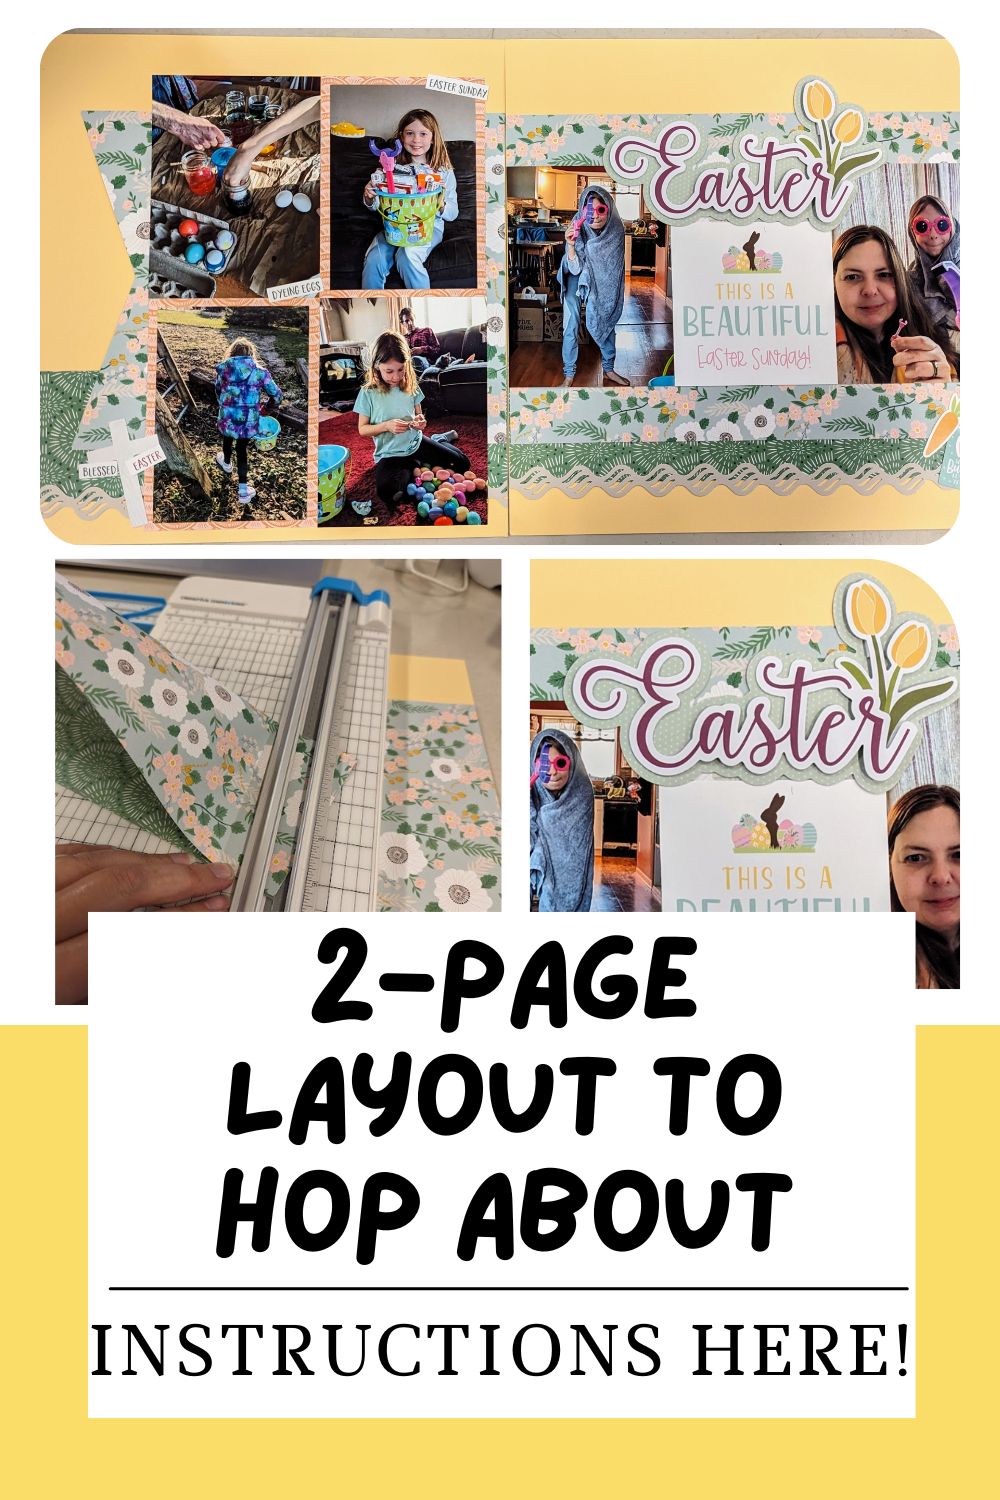

We’re kicking off our April Virtual Crop with this fabulous 2-page layout from the Creative Memories blog! Be sure to download instructions below and share your completed layout in the Challenge 1 post comments on my VIP Facebook group for your chance at a prize!
To Create this 2-Page Layout, You Will Need:
2 Sheets of base paper/cardstock (12×12)
2-3 other designer papers for your strips and page elements
Border Punch, Border Stickers, and/or Border Maker Cartridge
You’ll also want some tools to help you put this one together, like your 12 inch trimmer, adhesives, etc.
Mats, Embellishments, Stickers, depending on what you want to doll your page up with
How To Create this 2-Page Layout:
Begin by cutting your strips that will be towards the bottom of your pages. Cut 2 strips from the pattern of your choice to 12″ x 3″ and adhere them about 1.5″ from the bottom of your bases of your 2-page layout.

Next, cut your larger, center pieces. You will need 2 sheets of the same pattern to get both pieces. Cut one sheet to 12″ x 8″ and the other to 11″ x 8″. You will then take your 11″ piece and create a “v” on the edge of it by taking your 12 -Inch Trimmer. I gently folded my piece in half at the tip, and angled it on my trimmer to ensure I got an even v. Be sure to have your corners turned the correct way, as I messed this up once and ended up with a point in the center, rather than two on the corners.
Adhere both of your pieces to your layout, placing the one with the “v” on your 1st page, and your block one on the 2nd page.
If you want, add a border to your top and bottom seams, or just one of them. I only did the bottom seams with a Border Maker Cartridge. You can also use border stickers or a border punch to create a couple that fit your theme best.
Next you will want to create your mats and trim up your photos. Create 2 mats with a paper of your choice that are 4″ x 6″. Trim 2 photos to 3-1/2″ x 5-1/2″ and adhere to your mats. Leave the rest of your photos at 4″ x 6″. Adhere your matted photos kiddy corner from each other on your first page, and fill in the gaps with your other 4×6 photos, as shown.
Adhere your photos to your 2nd page. You can use 2 photos like I did with a title/mat in between, or use 3 photos to fill the gap in the center.
Finally, journal and embellish to complete your 2-page layout!
Wrap Up
Remember to download your instructions below. You can print them for later too. Post your completed layout to the comments of the Challenge 1 post in my VIP Facebook Group by Thursday, May 2 at 11:59pm for your chance to win a prize! Be sure to request to join my page if you aren’t already on there.
If you don’t already have a Creative Memories Advisor, I would love to be your girl! You can shop my site below to see all of the cool things CM has to offer for your memory keeping and crafting needs!
Downloadable Instructions
Get more tips and layouts


*This post contains affiliate links for products that I have used, loved, and want to share with you. If you click on those links, I may get a small commission at no additional cost to you.

