
*This post contains affiliate links for products that I have used, loved, and want to share with you for your scrapbook layout. If you click on those links, I may get a small commission at no additional cost to you.
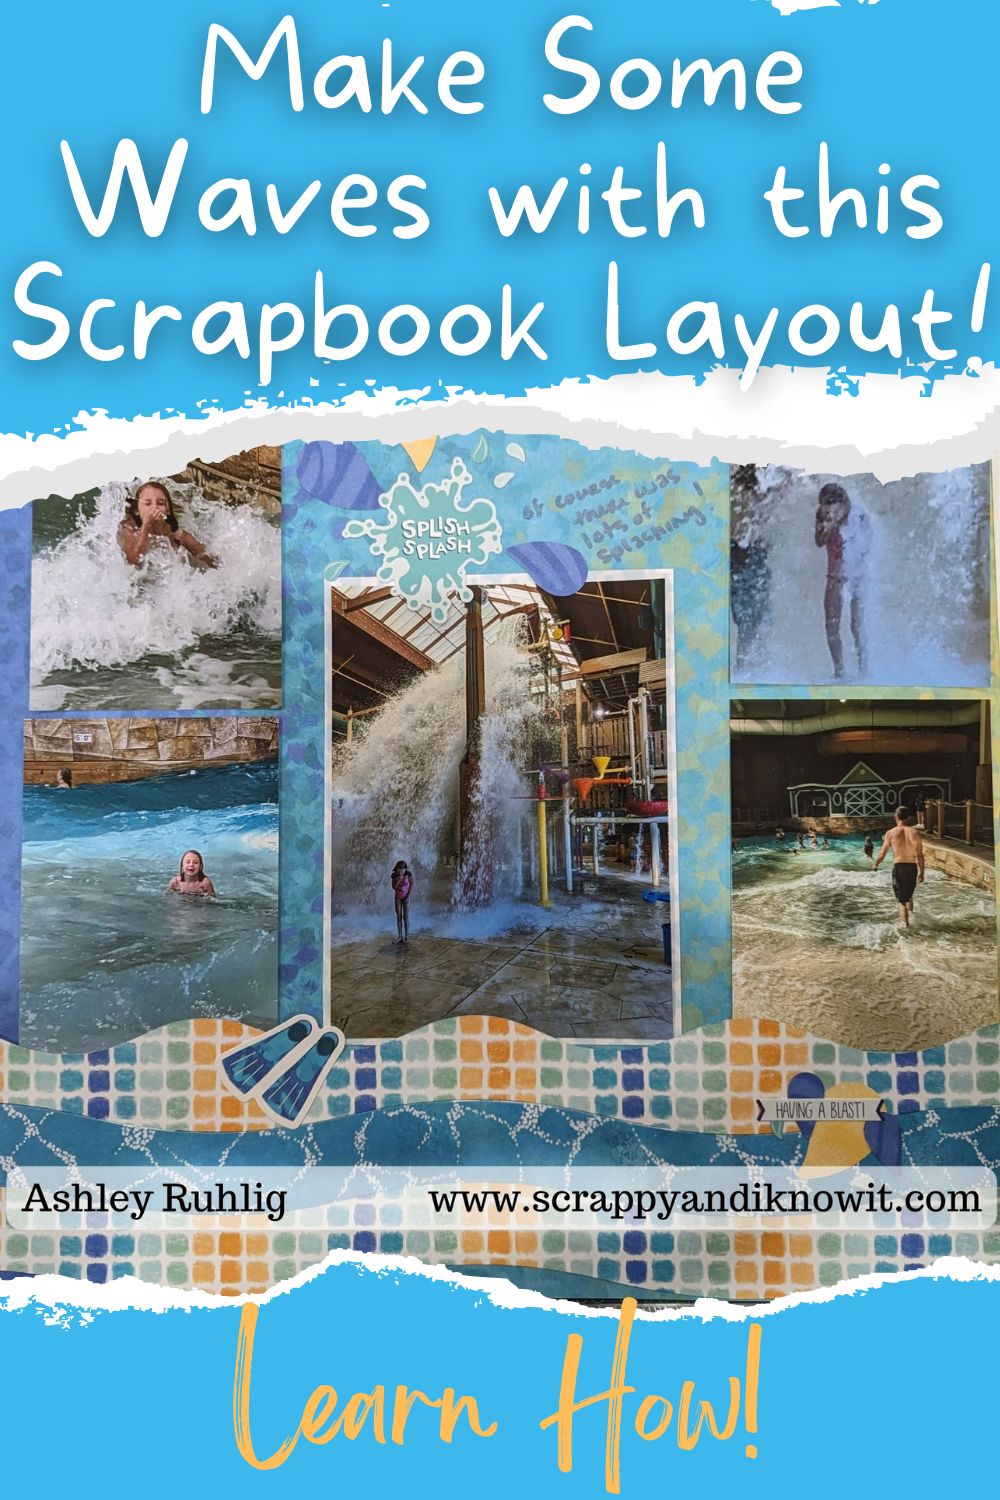
We are kicking off a Scrappy Virtual Crop for January! Catch the wave with this layout and show me your awesome page on my Facebook group. Post it under the comments for this challenge post for your chance to win a prize by Thursday, February 1st at 11:59pm. Here is how I created this layout, using the sketch from Creative Memories’ blog on September 7th, 2023. You can find that original post here, and download my instructions for it below!
What is needed to create this scrapbook layout?

To create this wavy layout, you will want a wavy trimmer. Creative Memories has a cool one that you can check out here. If you don’t have a decorative trimmer, you could create waves with scissors, but will probably want to line your 3 papers up together so they have the same “waves” in order to line up on the page.
You will also want a regular trimmer. I love my 12 inch trimmer! I also used a punch from the exclusive Candlelit Bundle that CM had over Black Friday, but certainly use the punches and embellishments that work best for your theme and layout.
For my papers, I used the Serene Waters Collection, which is one of my favorites! This page was actually created on a Fast to Fab page from the Serene Waters. It worked very well for the book I am working in. For the whole book, if I come across a Fast to Fab page I don’t care for, or that doesn’t work for my page, I simply adhere another page over it after I create the page I want on another base. This truly makes Fast to Fab pages versatile for any theme you want!
How is this scrapbook layout created?

You will begin by cutting out your waves with your decorative trimmer. You will want to cut out 4 of them on 2 different shades of paper, or whatever you desire. Cut them at 12″ x 1″ on your trimmer. Just line the edge of your paper, or the top of the previously cut wave to the 1″ line on your trimmer, as pictured here.
Adhere 3 of them, alternating designs towards the bottom of your layout. Adhere 1 of the waves to the top.
Mat your center photo (the 4″ x 6″ one). Trim your other photos to 3″ x 4″. Adhere them onto your page per the instructions.


I used the Candlelit punch from the Black Friday bundle in 2023, but you can use whatever punches and embellishments you wish to add to your scrapbook layout. It’s a great idea to use a title of some sort, whether you create one with ABC stickers, cut one out on your Cricut, or use an embellishment or mat. This helps bring the page together. I used the Sweet Summertime stickers to embellish and add the title.
Journal and you are done!
I hope you enjoyed this layout and gain some ideas as you go about getting your book created! Stay tuned for more challenges in this weekend’s Scrappy Virtual Crop as I will be posting 4 more sets of instructions and blogs to get you going full speed. Remember to share your layout in my Facebook Group to earn prizes by Thursday, February 1st at 11:59pm. Request to join if you are not on there yet.
And, remember to download the instructions below and save them for future reference, or use them as you build your page now. Good luck and have fun with this scrapbook layout!
Download Instructions Here!
Check out these other tips and layouts!


