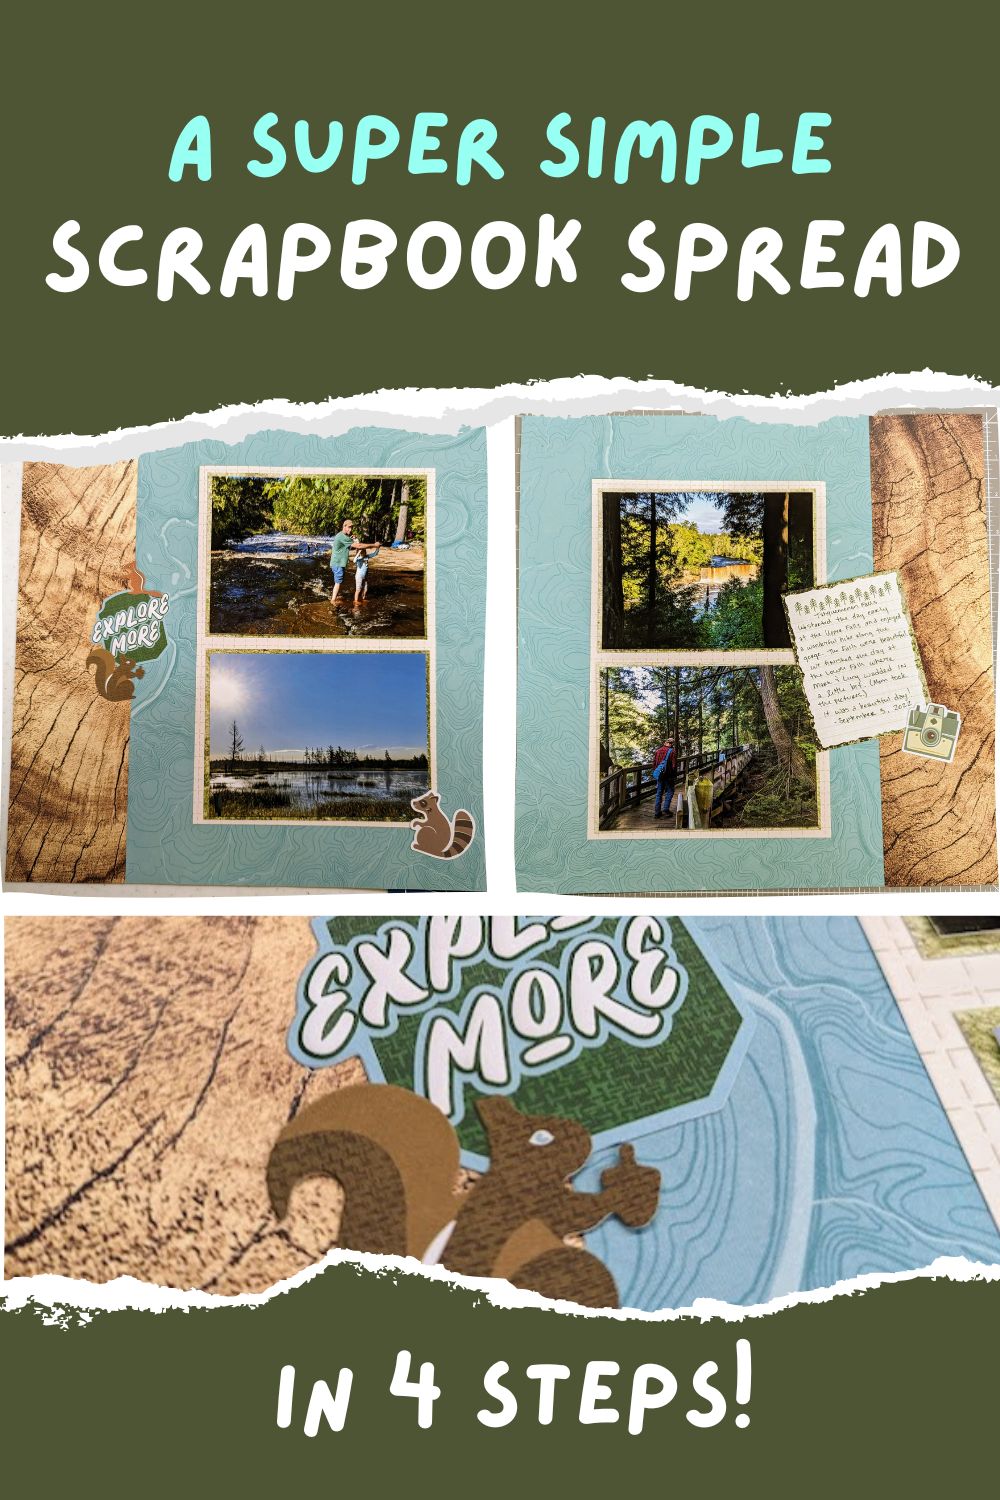

Need a scrapbook layout fast? Give this simple scrapbook spread in 4 steps a try! Come with me as we piece this page together, and maybe even turn it into a 2-page spread.
What you need to make this layout
All you will need for this spread is a base paper, 2 photo mats, a 9″x6″ piece, and a 3″x12″ strip for the side of your page. I encourage a piece that is louder for your side strip to help your page pop.
You will also want a journal box and embellishments to bring it all together!
In terms of tools, you will need your 12 inch trimmer and adhesive. This simple scrapbook spread really doesn’t take a whole lot to create.
How to make this simple scrapbook spread in 4 steps

Step 1 – To begin, trim your photos if needed. You can use 4″x6″ photos, or slightly smaller if needed. Just make sure you have them the same size to create overall balance to the page. Mat your photos on mats that are slightly larger than your photos, so you can just see the edge. If you’re photos are 4″ x 6″, your mats should be 4-1/2″ x 6-1/2″. Whatever size your photos are, just up your mats by a 1/2″ each way. Adhere your photos to their mats.
Step 2 – Create your strip of paper that will go along the edge of your layout to 3″ x 12″. I recommend using a paper that has a lot of texture of pop to it so your page can have some more accent to it. Adhere it to your layout.

Step 3 – Cut another piece of paper to 6″ x 9″. Again, if your photos are 4″ x 6″, you will want to size up a bit to 7″ x 9-1/2″. You can also adhere your photos to their mats, then to the piece and trim it down once you see how much excess you have. Adhere the whole piece to the center of your empty space on your layout.
Step 4 – Create a journaling box, either from paper or by cutting a mat in half. Add embellishments and journaling to your page.
Wrapping Up
This was such an easy page to make that I turned it into a 2-page layout! Just reverse your edge and add some more embellishments to bring it all together.
You can also download printable instructions for this simple scrapbook spread below so you can refer to it easier and/or save it for future layout ideas.
I hope you enjoy this layout!
Download Instructions
Check out more tips and layouts:


*This post contains affiliate links for products that I have used, loved, and want to share with you. If you click on those links, I may get a small commission at no additional cost to you.

