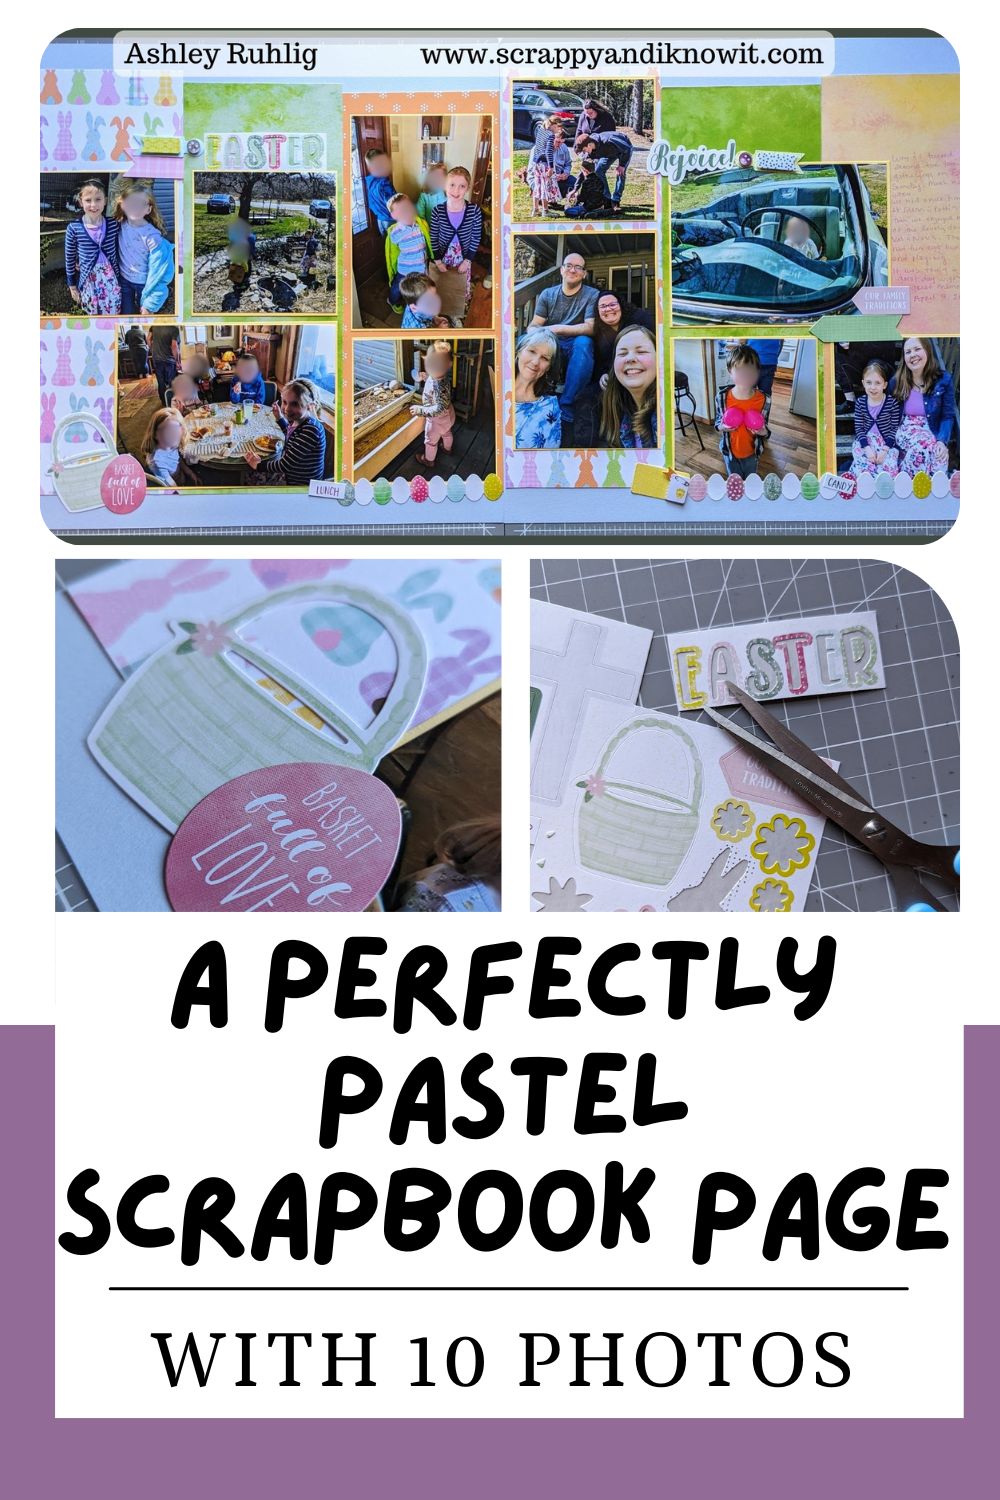
Easter is a big time in our family, so I am always on the lookout for layouts that can handle a lot of photos for it. We love to spend time attending lots of egg hunts, reflecting at church services, and enjoying meals with our multiple family gatherings. This layout from the Creative Memories blog was perfect for what I was looking for, and it can be tailored to whatever theme you need. Check out how I put together my perfectly pastel scrapbook page with 10 photos!
What You Need for this Scrapbook Page with 10 Photos:
I used various Easter and springy papers from past Creative Memories collections. They usually have some sort of spring collection offered, so you can check those out and see if something can fit with your Easter photos.

You will want your 12 inch trimmer and personal trimmer to help make the right cuts for your scrapbook page with 10 photos. The photos will need to be trimmed at the right size to fit them all in and to create the look this layout is going for.
I used the Creative Memories Tape Runner and Repositional Tape Runners for my layout. The Repositional is great for those more intricate pieces you need to stick down. I absolutely love it, and recommend it for all tool boxes.
Use whatever embellishments that fit your theme to bring your page together. I actually used a sticker for my EASTER title that had all of the letters used up. I liked how it looked, so I trimmed it out and made it work.
How To Create This Scrapbook Page with 10 Photos:

Begin by selecting your papers. This is the hardest step for me because I love to see all combinations I can possibly use and am very indecisive. In fact, this is what usually takes me the longest with creating a layout.
You will need 2- 12×12 papers for your base (if you are doing the 2-page layout). I also picked 3 different patterns for my columns to spread across my page. I used the front and backs of each pattern I found. You’ll need 2 of your columns to be 10-1/2″ x 4″, 2 others to be 10-1/4″ x 4″, and 2 others to be 10″ x 4″. This will create the varying heights of the columns on your page.
After your trim your papers for your columns, adhere them across your layout, lined up at the bottom, about 1″ from the bottom of the base. The tops of your columns should be varying heights.

You can use whatever photos work for your page, but the sketch from CM calls for 2 photos at 6″ x 4″, 2 photos at 3-1/2″ x 5-1/2″, and 6 photos at 3-1/2″ x 3-1/2″. Be sure to download the instructions below to see the sketch.
Mat your photos on whatever color/pattern that goes with your layout.
Add whatever embellishments and journaling to complete your page. Like I said above, I used the leftovers from a title sticker for my title that worked nicely.
Wrap Up
I hope this scrapbook page with 10 photos can work for those times you have a ton of photos to get scrapped. Remember that you can download the printable instructions below to save for later and/or to work from. I hope you enjoy it!
If you don’t have a Creative Memories Advisor, I would love to be yours! You can shop my site at the button below and check out what Creative Memories has to offer! Thank you for considering!
More Tips and Layouts to Try!
*This post contains affiliate links for products that I have used, loved, and want to share with you. If you click on those links, I may get a small commission at no additional cost to you.


One thought on “A Perfectly Pastel Scrapbook Page with 10 Photos”
Comments are closed.