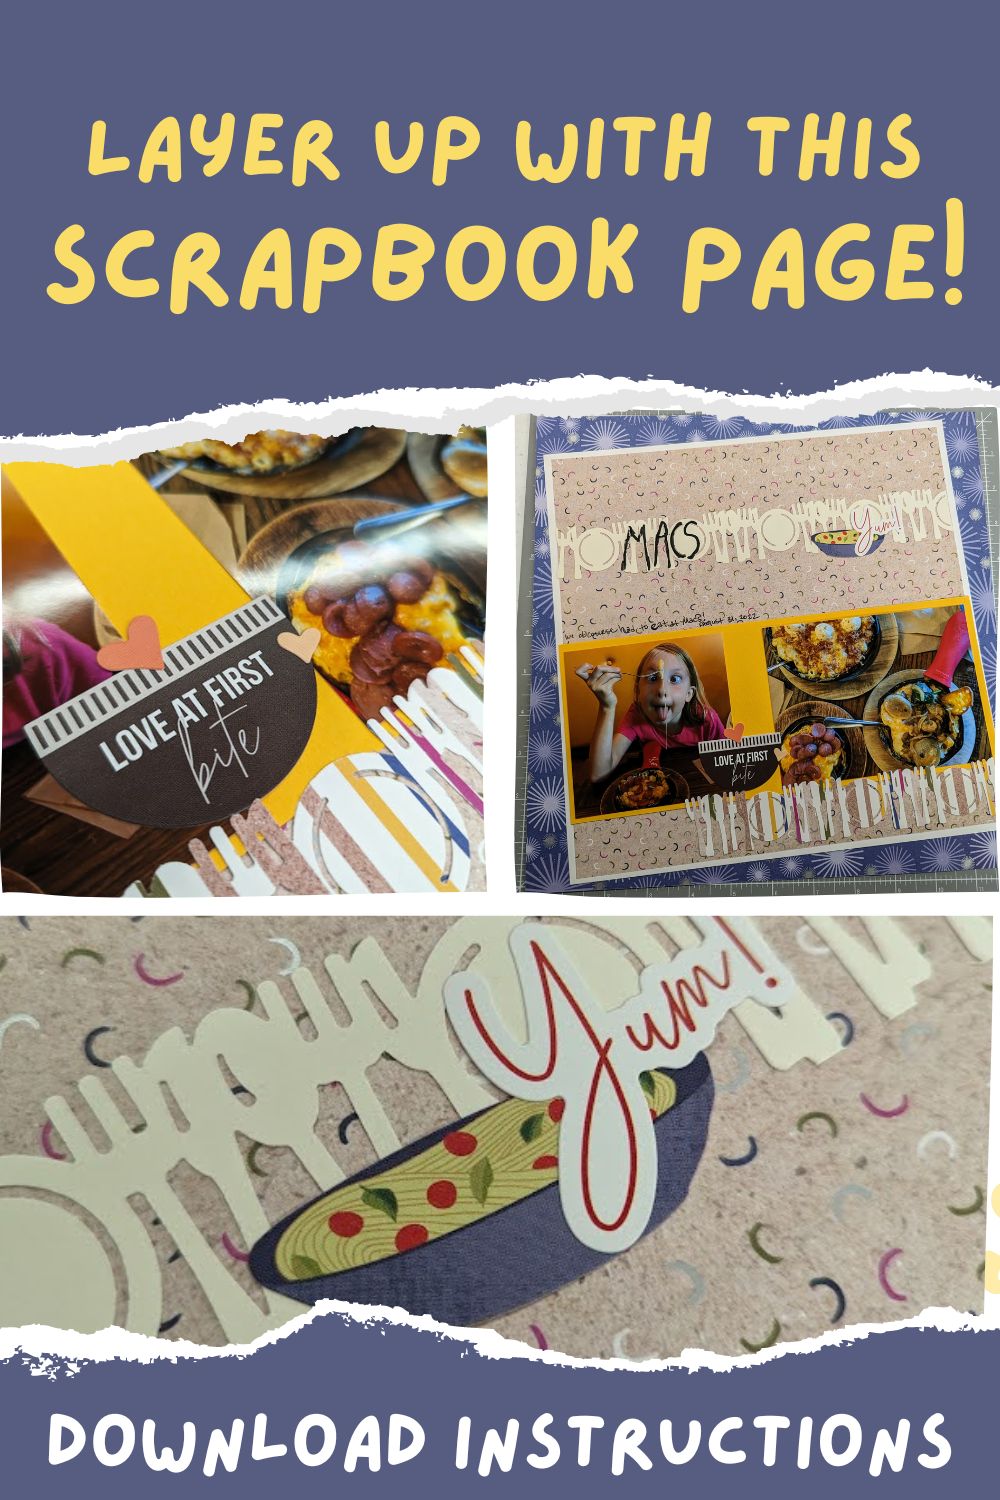

Virtual Crop 1
We’re kicking off February Virtual Crop with a layered up scrapbook page that will take you no time at all! While this page is super easy to make, I must admit, mine didn’t turn out the way I liked, but I am learning that sometimes you just have to roll with it and even put the imperfections in your books. I find that when I seek perfection, I am starting at a page for hours, and nothing gets accomplished. I trust you will have no trouble with this one. =)
What you need to make this layered up scrapbook page

You can refer to my sketch above, but know that it is not entirely to scale. It does give you an idea of how this layered up scrapbook page comes together though.
To create this layout, you will need a designer sheet of paper for your 12×12 base.

A designer sheet of paper for your top layer trimmed to 10 -1/2″ x 10-1/2″.
Another designer sheet of paper or sheet of cardstock to mat your top layer on trimmed to 10-7/8″ x 10-7/8″.
Coordinating paper or cardstock to mat your photos on and create a border out of.
A border maker cartridge or border punch to create your top border and accentuating border if you want to add one.
Tools you will want for this layout is the 12 inch trimmer, adhesives, border punch/border maker cartridge and system, and embellishments.
How To Create This Layered Up Scrapbook Page

Adhere your 10 and 7/8″ square piece of cardstock/designer paper, tilted on your 12×12 base. Then, adhere your top piece (the one sized 10 and 1/2″) on top of that to create your layered up scrapbook page.
Next, trim your photos to the same height and adhere them to a coordinating piece of cardstock/paper right next to each other and then cut the mat to size. In the example, the mat is 11- 1/4″ x 4 – 1/4″, but I did diverge a smidge from that to fit my photos. Adhere that to your page towards the bottom – center.
Punch out a border with the Border Maker System or Border Punch in a color/designer paper of your choice, and adhere that to the top part of your layout.
Embellish and journal as desired. I did a handwritten title, that I didn’t end up crazy about, but I was looking at the utensils and plates of the Dine Border Punch I had used and could see the letters of the restaurant we ate at in there, so I tried to make it work. Either way, you will want to have some sort of title and journaling to portray what your layered up scrapbook page is about.
Wrapping Up
Be sure to post a picture of your completed layout to my Facebook Group under the post for this challenge by Thursday, February 29th at 11:59pm for your chance to win a prize! Then tune into my Facebook Group for more Virtual Crop Challenges, tips, and other fun. It is a great group with lots of ideas and great community! I offer a challenge at least once per week with prizes, so you definitely want to check it out and request to join!
You can also download printable instructions below for this layered up scrapbook page to keep for later. Check out the Creative Memories layout that inspired this post here.
If you don’t have a Creative Memories Advisor yet, feel free to shop my link at the button below!
Get more tips and layouts here:


*This post contains affiliate links for products that I have used, loved, and want to share with you. If you click on those links, I may get a small commission at no additional cost to you.

