Virtual Crop 3

We are trekking along with our Virtual Crop with challenge number 3 and some bright scrapbook layout instructions in this post! I used a Project Recipe from Creative Memories (which you can download below) to create this fun layout. There is also a video of me creating it linked below. Be sure you jump onto my Facebook Group to submit your layout in the post for this challenge by Thursday, February 29th at 11:59pm for your chance to win a prize!
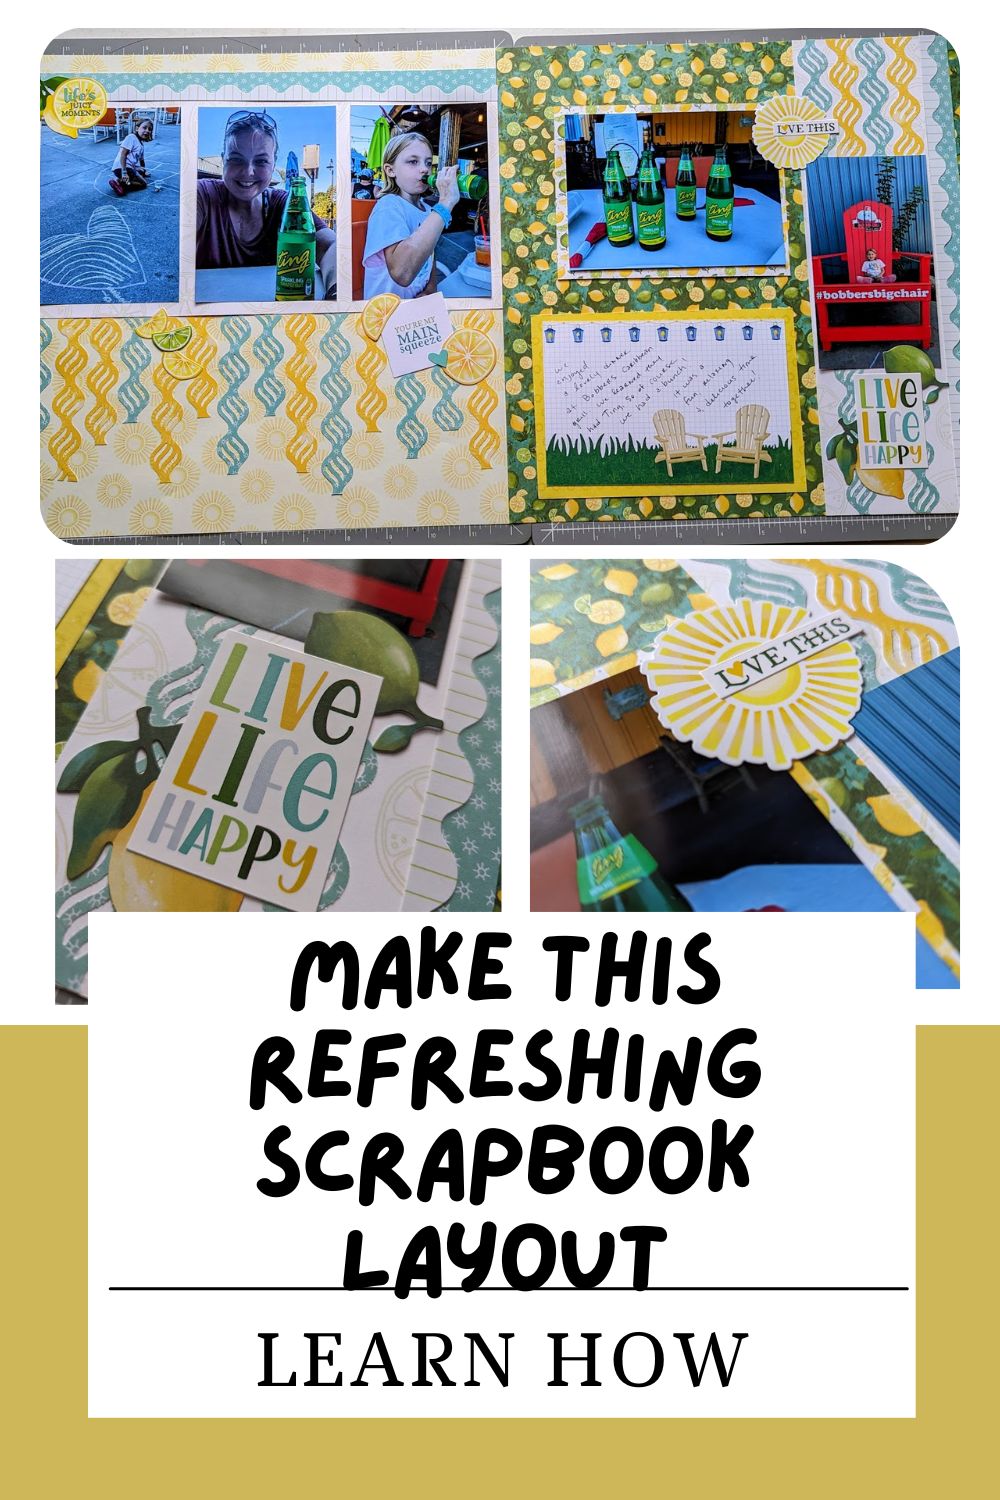
What You Need For This Layout
As you’ll see in these bright scrapbook layout instructions below, you will need 4 pieces of designer papers. 2 for your base and 2 to cut up for your layout pieces. I used the National Scrapbook Day 2023 papers and embellishments as they worked perfectly for our Caribbean restaurant dinner pictures. (I highly recommend Bobbers in the Wisconsin Dells, especially if you are a Ting fan. If you know, you know.)
You will want to pick out a border punch or border maker cartridge that is a chain, meaning it falls off the paper you are punching it from. You would want one like the first one pictured below. See examples here:

(No metal on top or bottom of design)

(Metal on one side of the design)

(Metal on both sides of the design)
You will also want a good 12 inch trimmer, and I love mine from Creative Memories here.
In my opinion, the Repositional Tape Runner from Creative Memories is also a must, as it will help you with adhering those tedious designs, like your borders.
I did diverge from the instructions a little to make it work for the photos I had, and used a couple of corresponding mats on my layout in a photo spot. You will also want matching embellishments to bring your layout together.
How this layout is made:
You will definitely want to check out this bright scrapbook layout instructions below, as well as the video to help you with creating it. There is a cutting guide within those that makes it so easy to create and figure out.

I used a muted base for one page and a louder base for the other page. You will use your other two papers to cut according to the guide, starting with punching 3 borders from each paper, then cutting the shapes you need.
Once all of your pieces are punched and cut out, you will arrange them onto your bases.
For your borders, you will cut those into various lengths to put along the bottom of your 1st page’s photos. You will want to get about 3 pieces from each of your borders at varying lengths. I did go off script a little for the border pieces you need on the 2nd page, as I wanted to make it work with my photos, and added various lengths to my strip on the right side, rather than the 3 inch lengths the instructions call for. You are welcome to do what you would like with that.

I used the Repositional Tape Runner and silicone mat to help stick down my borders as those work great for those more tedious designs. You can get the silicone mats right now if you join as an Advisor for Creative Memories, and let me tell you…that alone is worth it! You can see all the reasons I love being an Advisor on my post here and see if it may be right for you!
Once you have all of your borders stuck down, adhere your pictures and mats if you chose to use those. Add some embellishments – I added some embellishment border stickers to the sides of my layout for even more dimension. Add some other coordinating stickers and embellishments to make your page pop even more!
Journal and you’re done!
Wrapping Up
I hope you love how your layout turns out! Don’t forget to download these bright scrapbook layout instructions below and request to join my Facebook page here, so you can join in weekly challenges, virtual crops, tips, deals, and more fun all the time! You can also watch a video of how it’s done below too! Remember to submit a photo of your layout to the challenge 3 post of my virtual crop for February by February 29th at 11:59pm for your chance to win a prize!
Get the Bright Scrapbook Layout Instructions Here
Check out my video creating this layout!
See more tips and layouts here:


*This post contains affiliate links for products that I have used, loved, and want to share with you for your scrapbook layout. If you click on those links, I may get a small commission at no additional cost to you.


One thought on “A Freshly Bright Scrapbook Layout Instructions Here”
Comments are closed.