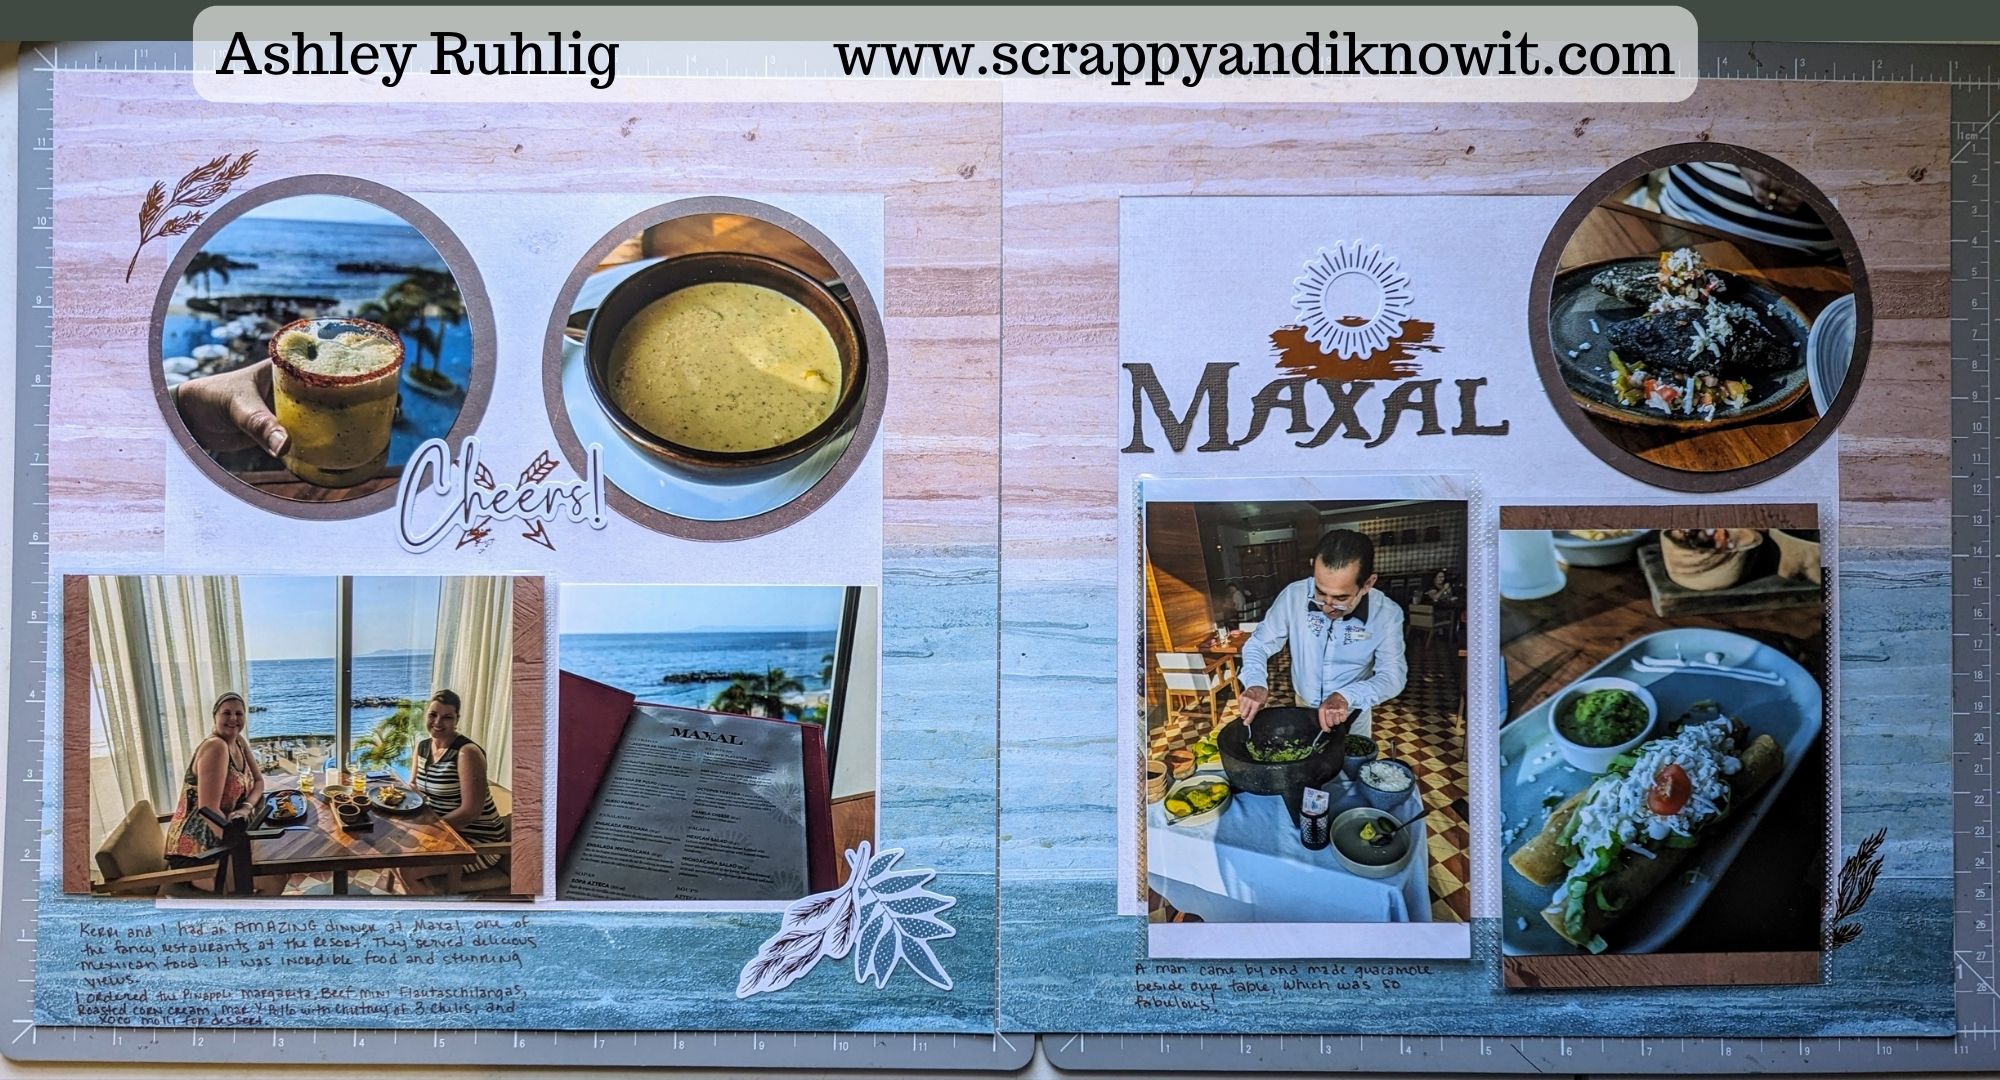
This tasteful scrapbook layout is wonderful for those decadent times! (You can find the original sketch on the Creative Memories blog here.) I just loved how well this layout turned out for our fancy feast in Mexico, and I wanted to share it with you all! Let’s create it together!
What You Need to Make this Tasteful Scrapbook Layout
Pick 2 sheets of 12″ x 12″ paper for each of your pages to this layout. I did “gut” mine so I could reserve paper for other projects or for matting photos.
You will need a couple other sheets of coordinating paper to layer on top of your bases, and for matting your photos. Have coordinating embellishments and stickers as well to help bring your pages together.
For tools, you should have a standard 12 inch trimmer, like this one here. Have scissors, and a way to cut circles. I used the Custom Cutting System and Circle Patterns like these. I also like to use my Circle Cutter tool, like this one.
I had a lot of photos for this occasion, but wanted to keep my tasteful scrapbook layout to 2 pages, so I also used Peekaboo Pockets to add more photos to my page, as pictured here. You can learn more about Peekaboo Pockets here!

How to Make this Tasteful Scrapbook Layout
Note that my pictured layout is a little different from the instructions, as I wanted my base to show more, so my layered paper on top of my base is way smaller than what is mentioned in the instructions.
Begin by trimming down your top layers to 11-1/2″ x 11-1/2″. (Or you can make them smaller if you want more of your base to show.) Adhere them on top of your 12″ x 12″ bases, in the center, leaving a 1/2″ frame around the outside from your bases.
Cut 3 circles with your Circle Cutter or Custom Cutting System at 4-1/4″ in diameter. If you are using the Creative Memories Custom Cutting System, you’ll be using your Blue Cutting Blade on the outside of your smallest circle pattern. These circles will serve as the mats for your circle photos.
Next, cut 3 of your photos to 4″ in diameter to adhere on top of your circle mats. You can use the Red Cutting Blade with your smallest circle pattern if you are using the Custom Cutting System.
Trim 2 of your photos to 5″ x 4″ and another to 4″ x 4″. Adhere all of your photos as shown in the sketch to your layout. One photo will be a 4″ x 6″.
Add a title to bring your tasteful scrapbook layout together. Embellish and journal!
Wrap Up
No matter what photos you are documenting, this layout can work! Be sure to print the guide below to have for future reference if you would like it!
If you want to see more of the awesome tools and products I use to create my layouts and scrapbook pages, you can check them out at the button below!
If you are ever looking for a fun side-gig, check out why I love working for the company I work for so much at their page at that button below!
Download Instructions
More Tips and Layouts
*This post contains affiliate links for products that I have used, loved, and want to share with you. If you click on those links, I may get a small commission at no additional cost to you.


